
A star is born
Rightio, I’m calling it… Paper Bag Stars are the best festive craft ever!
Every year I pull out these old faves, and every year they’re a hit. Among my jobs with children I teach art in a school, and as Term 4 winds down I make sure I always keep a packet of paper bags on hand. In the last week I made paper bag stars with 3 school classes and one group of pre-schoolers, and they were a hit each time. Depending on their age kids can either contribute a bag to a group star, or make their very own complete star. It’s a foolproof festive go-to-activity. Why? Because it uses some super-simple materials and a bit of magic to create a wow factor that never fails to surprise.
The ‘recipe’ for Paper Bag Stars is easy. All you need is:
7 identical paper bags (that’s the magic number folks, 7)
something to decorate the paper bags (crayons, pastels, textas, paint)
a glue stick
a pair of scissors.
Here's how you do it:
Get the kids to make all seven bags colourful on both sides, using crayons, pastels, pencils, textas… whatever you have handy. Let them use paint if that suits, but allow for drying time. Guide them to put most of their colourful marks along the sides of the bag rather than the centre part.
Sort all 7 bags into a pile so that they are all facing the same way.
Lay one bag on the table with its open end facing you. Draw a sticky letter T onto it with a gluestick. Lay the next bag (facing the same way) neatly on top. Apply pressure with your fingers to make sure the bags become firmly stuck together. Repeat until all seven bags have been glued together into a neat pile.
An adult then needs to use sharp scissors to cut the corners off the open end of the pile to make a point.
At this stage the bags will be hinged together by glue across their sealed end, and glued down their middle. Use your hands to fan the open ends around into a circular shape - voila!!!
Glue the final open sides together to seal the circle, and by doing so, form a colourful star.
Attach string of you’d like to hang them up.
If all that's not clear, see my rather hokey diagrams. If you're still confused try Googling “paper bag stars” as there are a few videos available online that talk you through the process. Sometimes the easiest way is to watch someone else actually making it, but I reckon that once you have the hang of it you’ll keep this stashed away in your repertoire of crafty tricks for years.
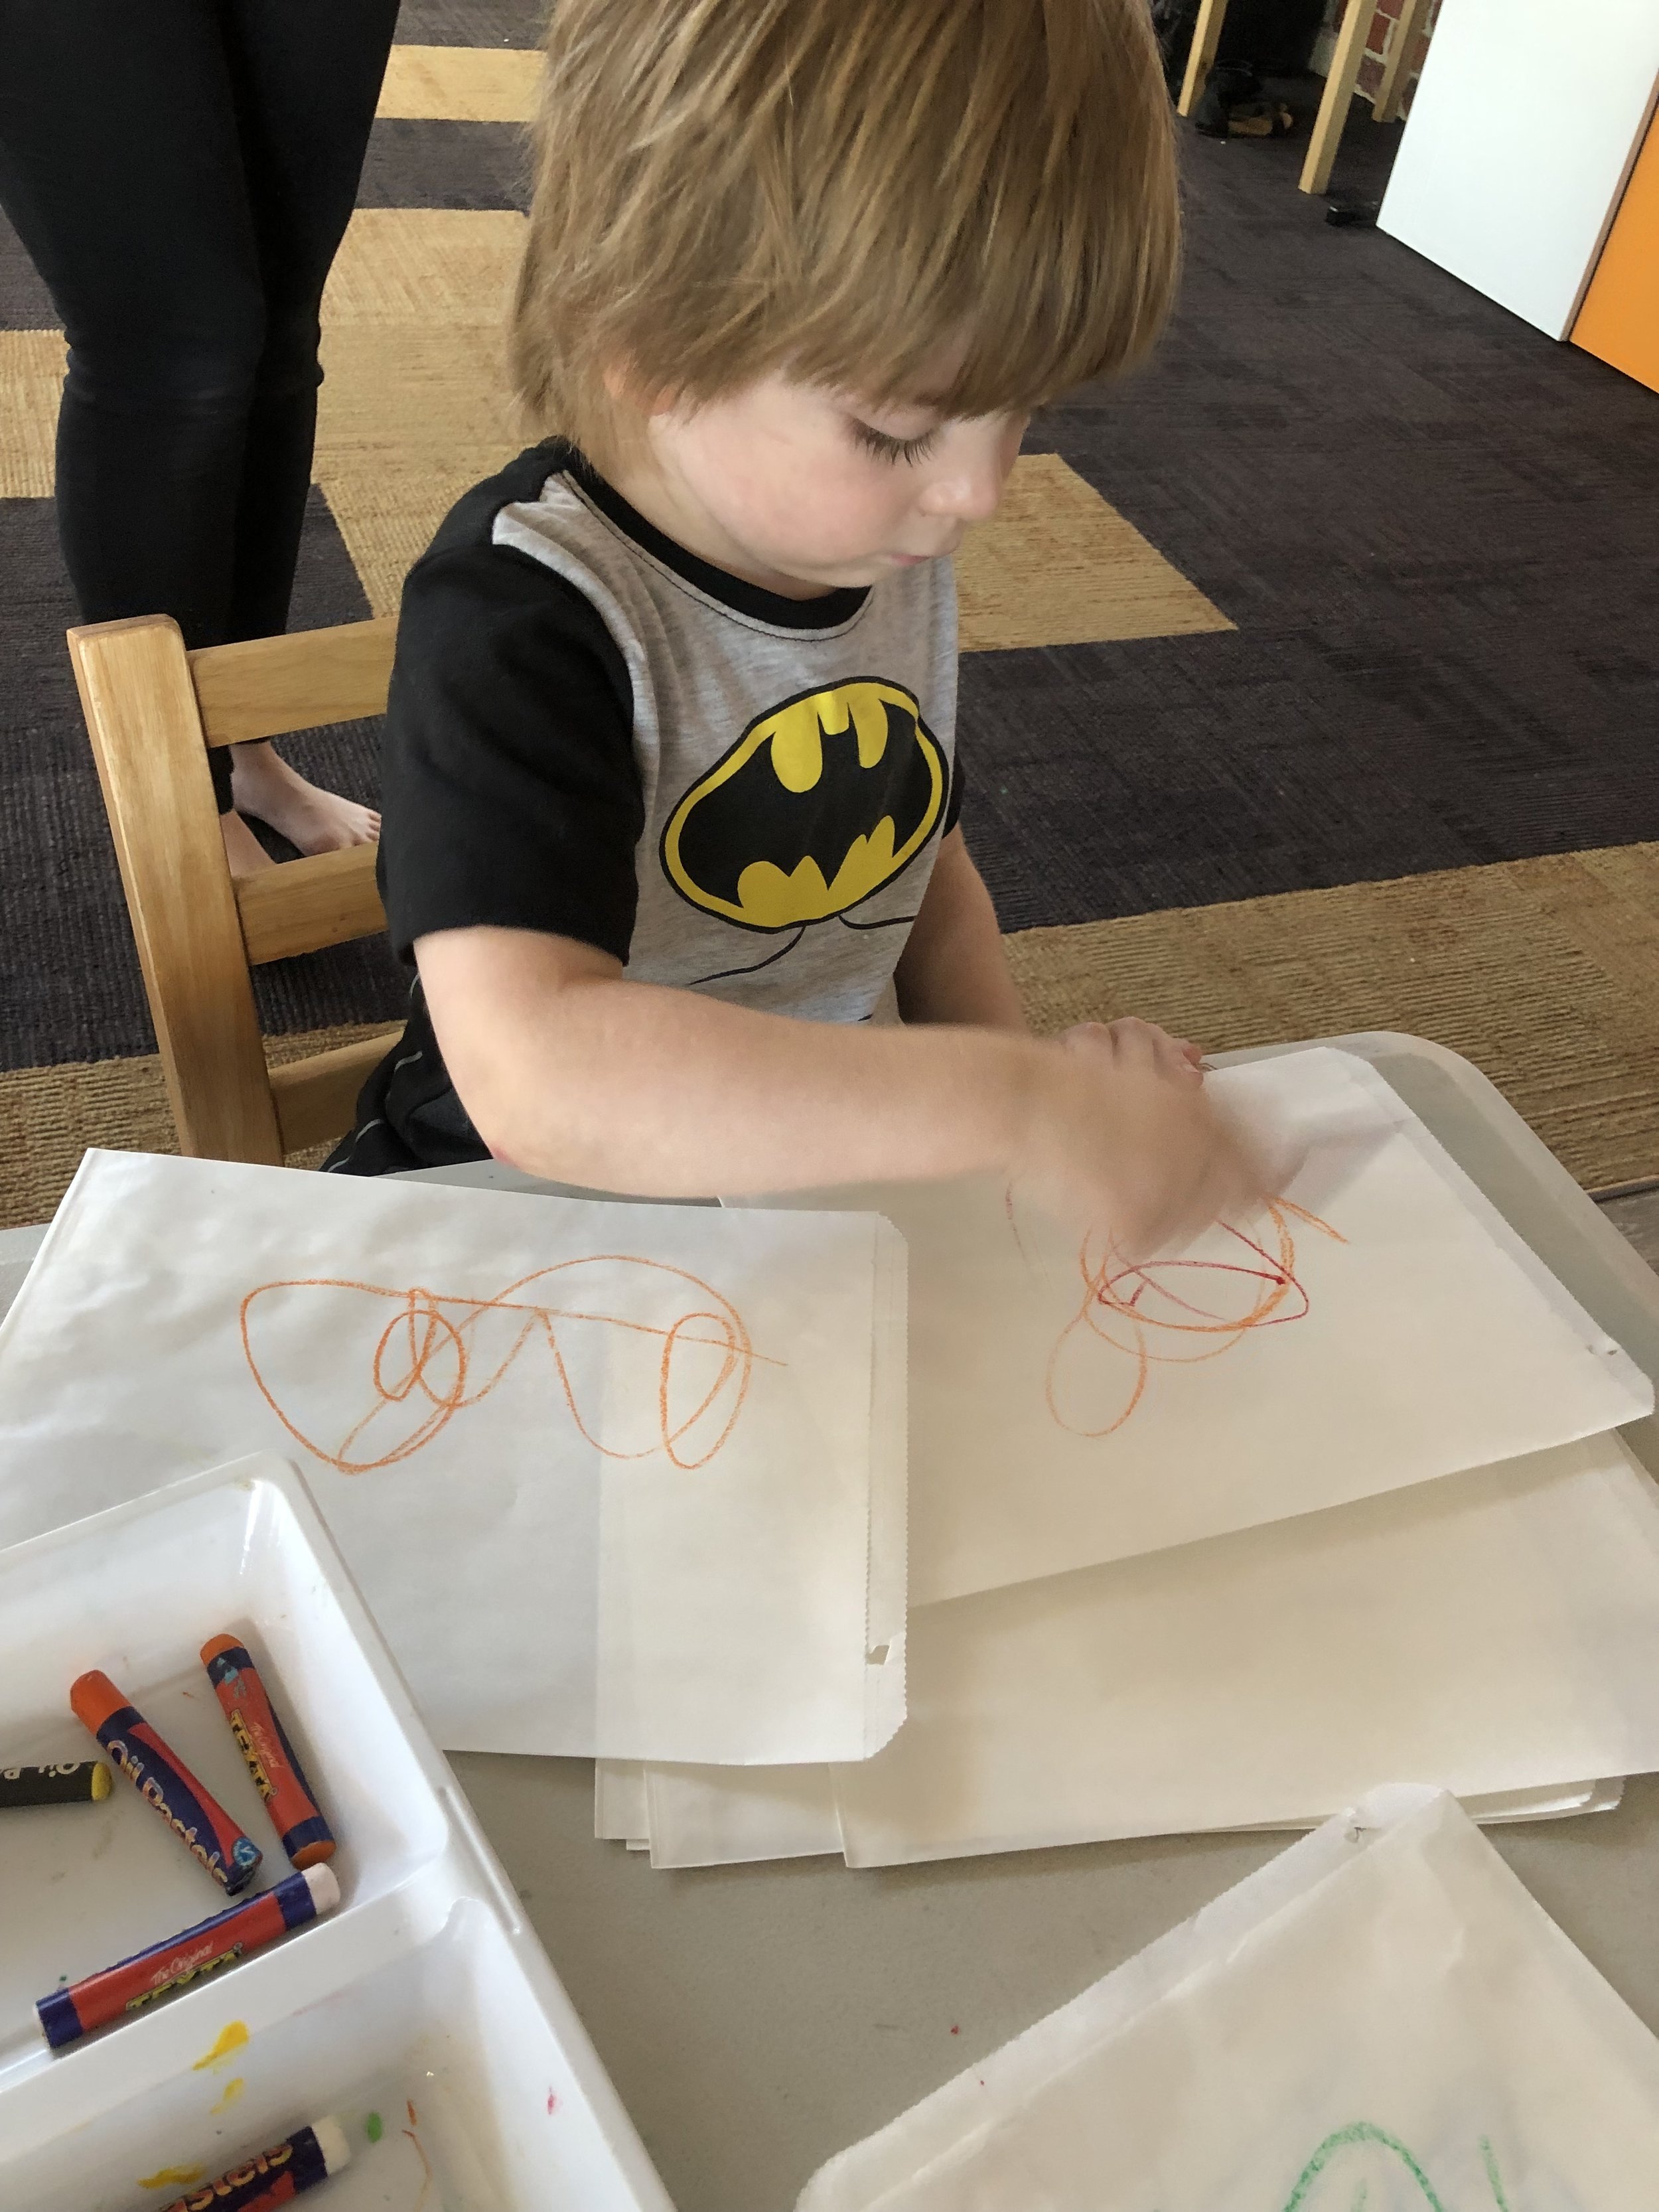
Decorating with oil pastels.
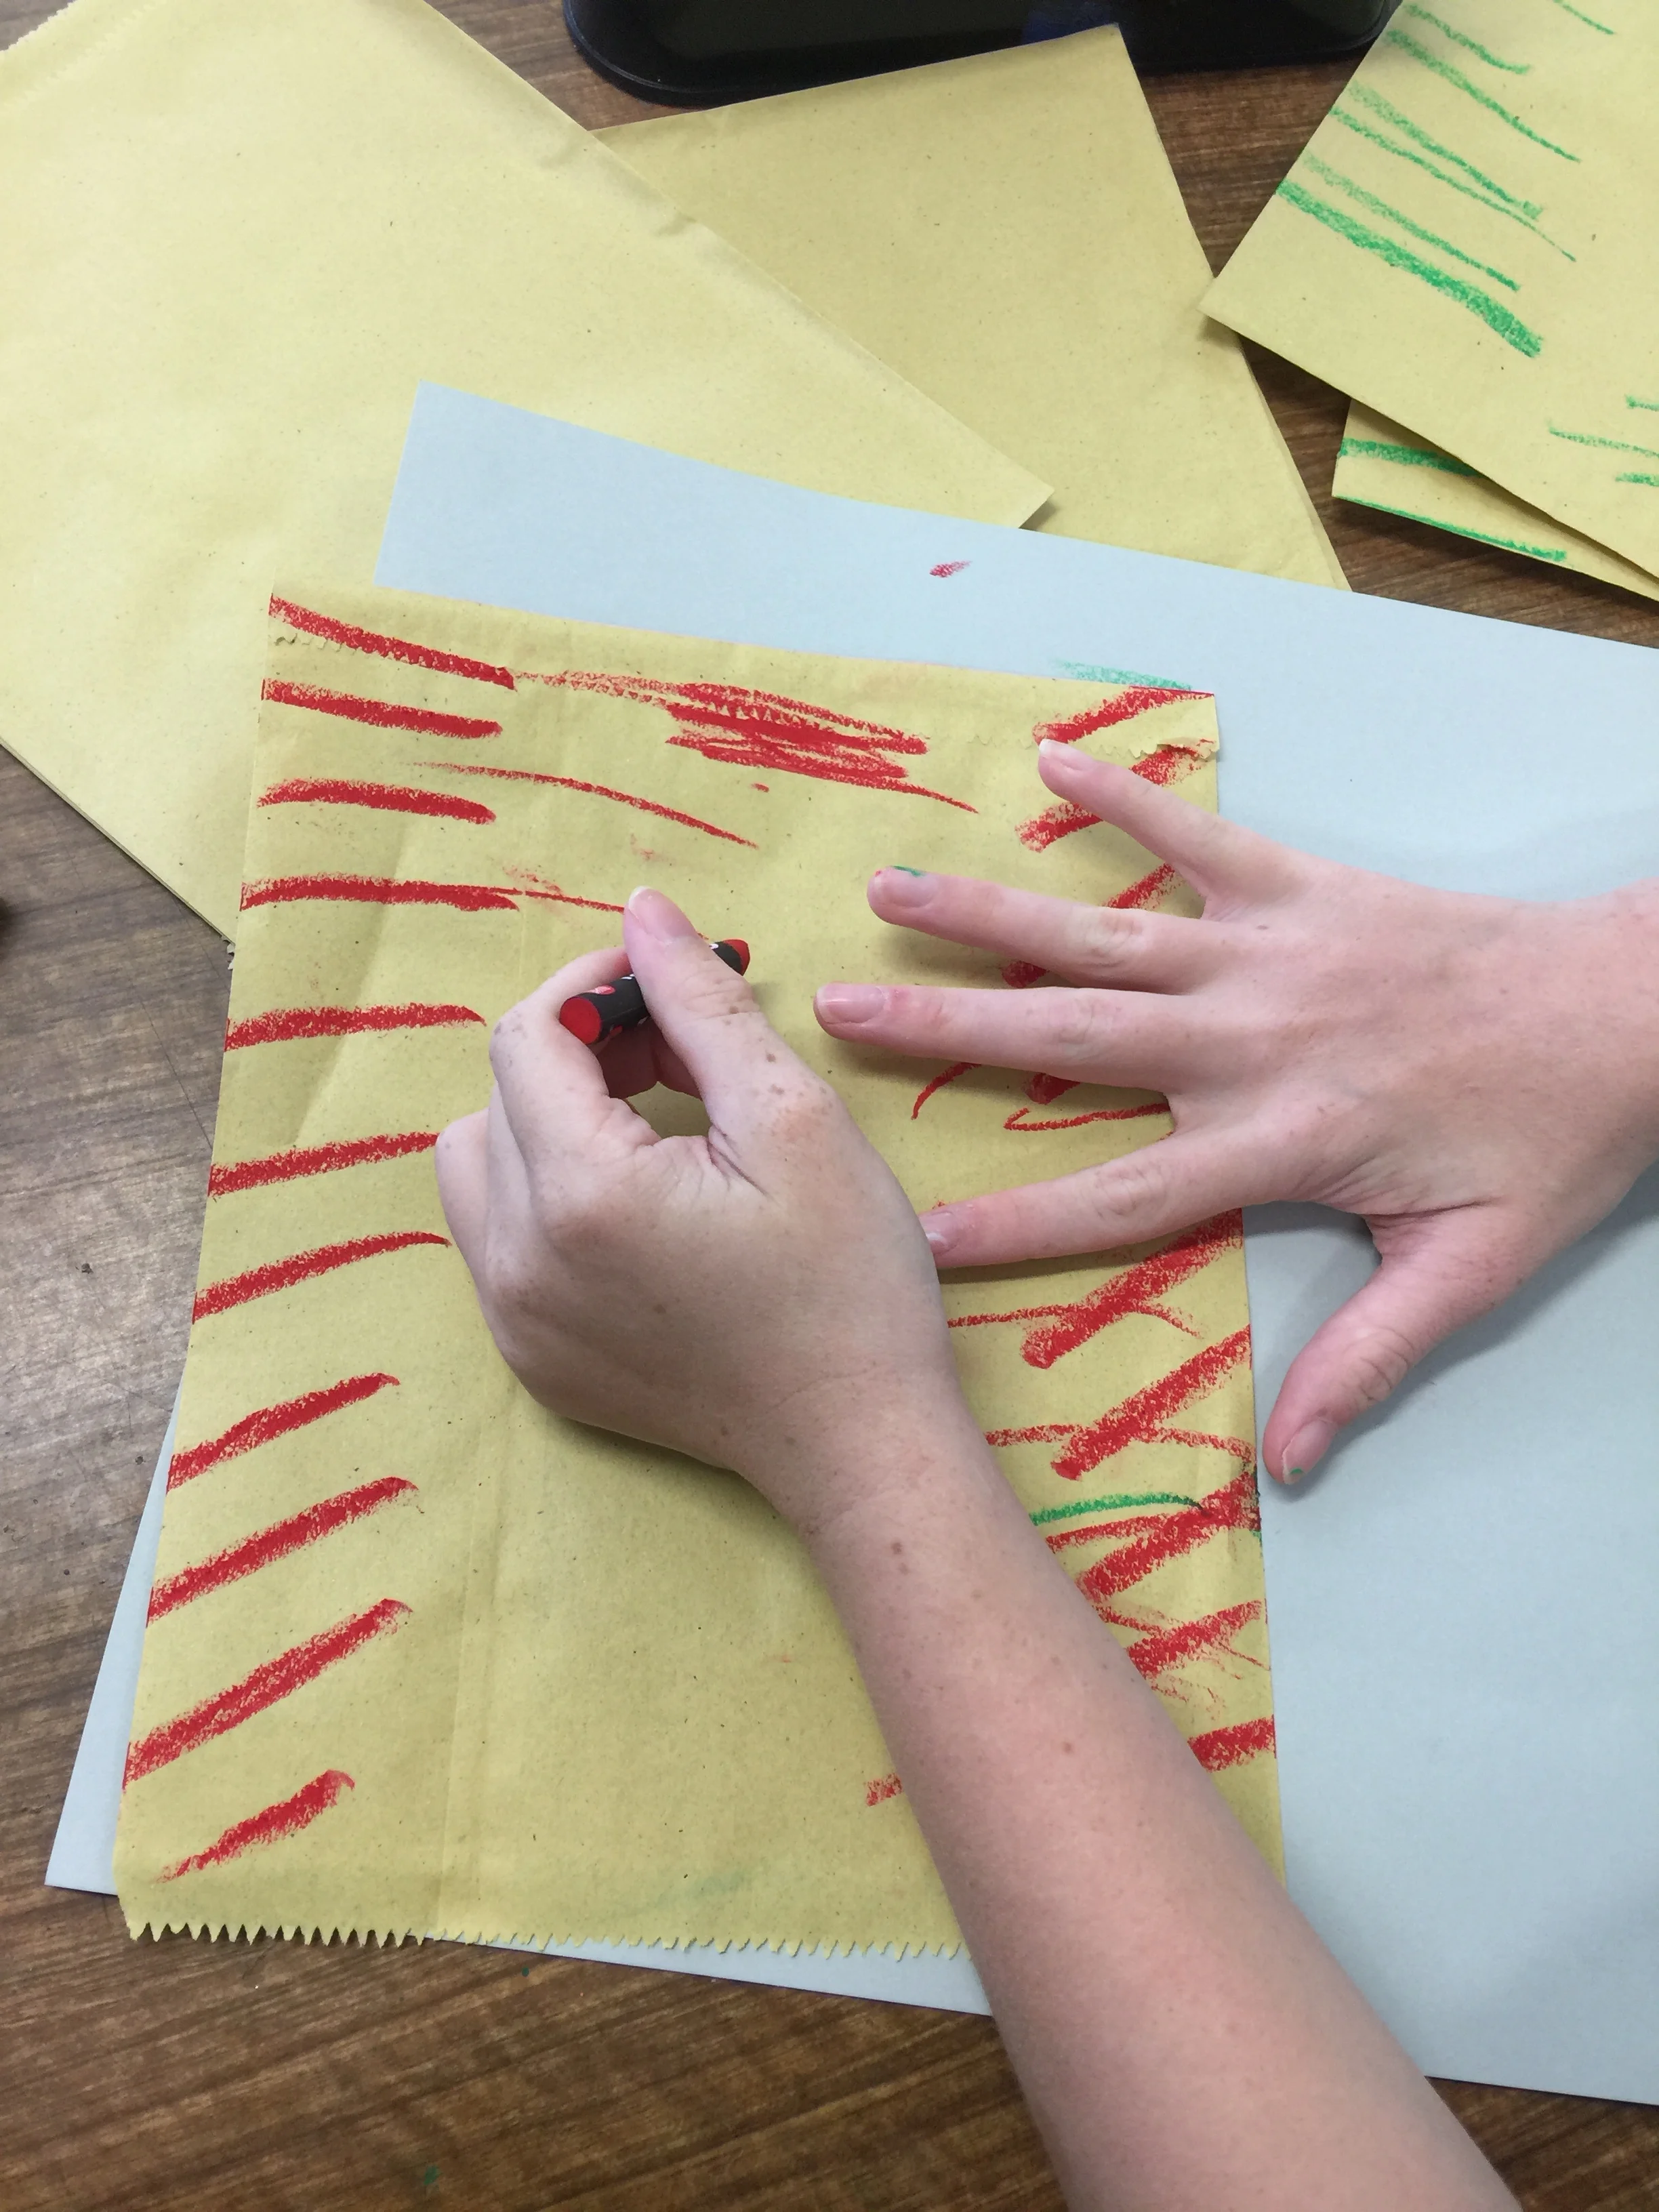
Any colourful marks will do.

Here’s how to put the bags together.

Here’s where the glue goes, and where the cuts are made.

The great unfold - dah dah!

