

Doing dough
I’ve said it before, and will no doubt say it again - playdough is ripper stuff!
Oddly, it took me quite a while to make playdough when my eldest was small. She loved it, but as a toddler she’d been given so many pots of the commercially produced ‘Play-doh’ by friends we didn’t need it. Later, once I realised the joys of making our own homemade playdough, we never looked back.
Within minutes you can conjure up a lovely batch of soft warm playdough in your kitchen (as long as you have some of that ‘oh so mysterious’ ingredient Cream of Tartar at hand!). You then know exactly what goes into it and it keeps for ages in a sealed container. So… if you’ve never made a batch at home, maybe now’s the time.
The recipe:
There’s lots of different recipes online, but this one is a reliable ‘go to’.
2 cups of plain flour
3 tablespoons Cream of Tartar
1 cup of salt
2 cups of water
2 tablespoons cooking oil
a few drops of food colouring
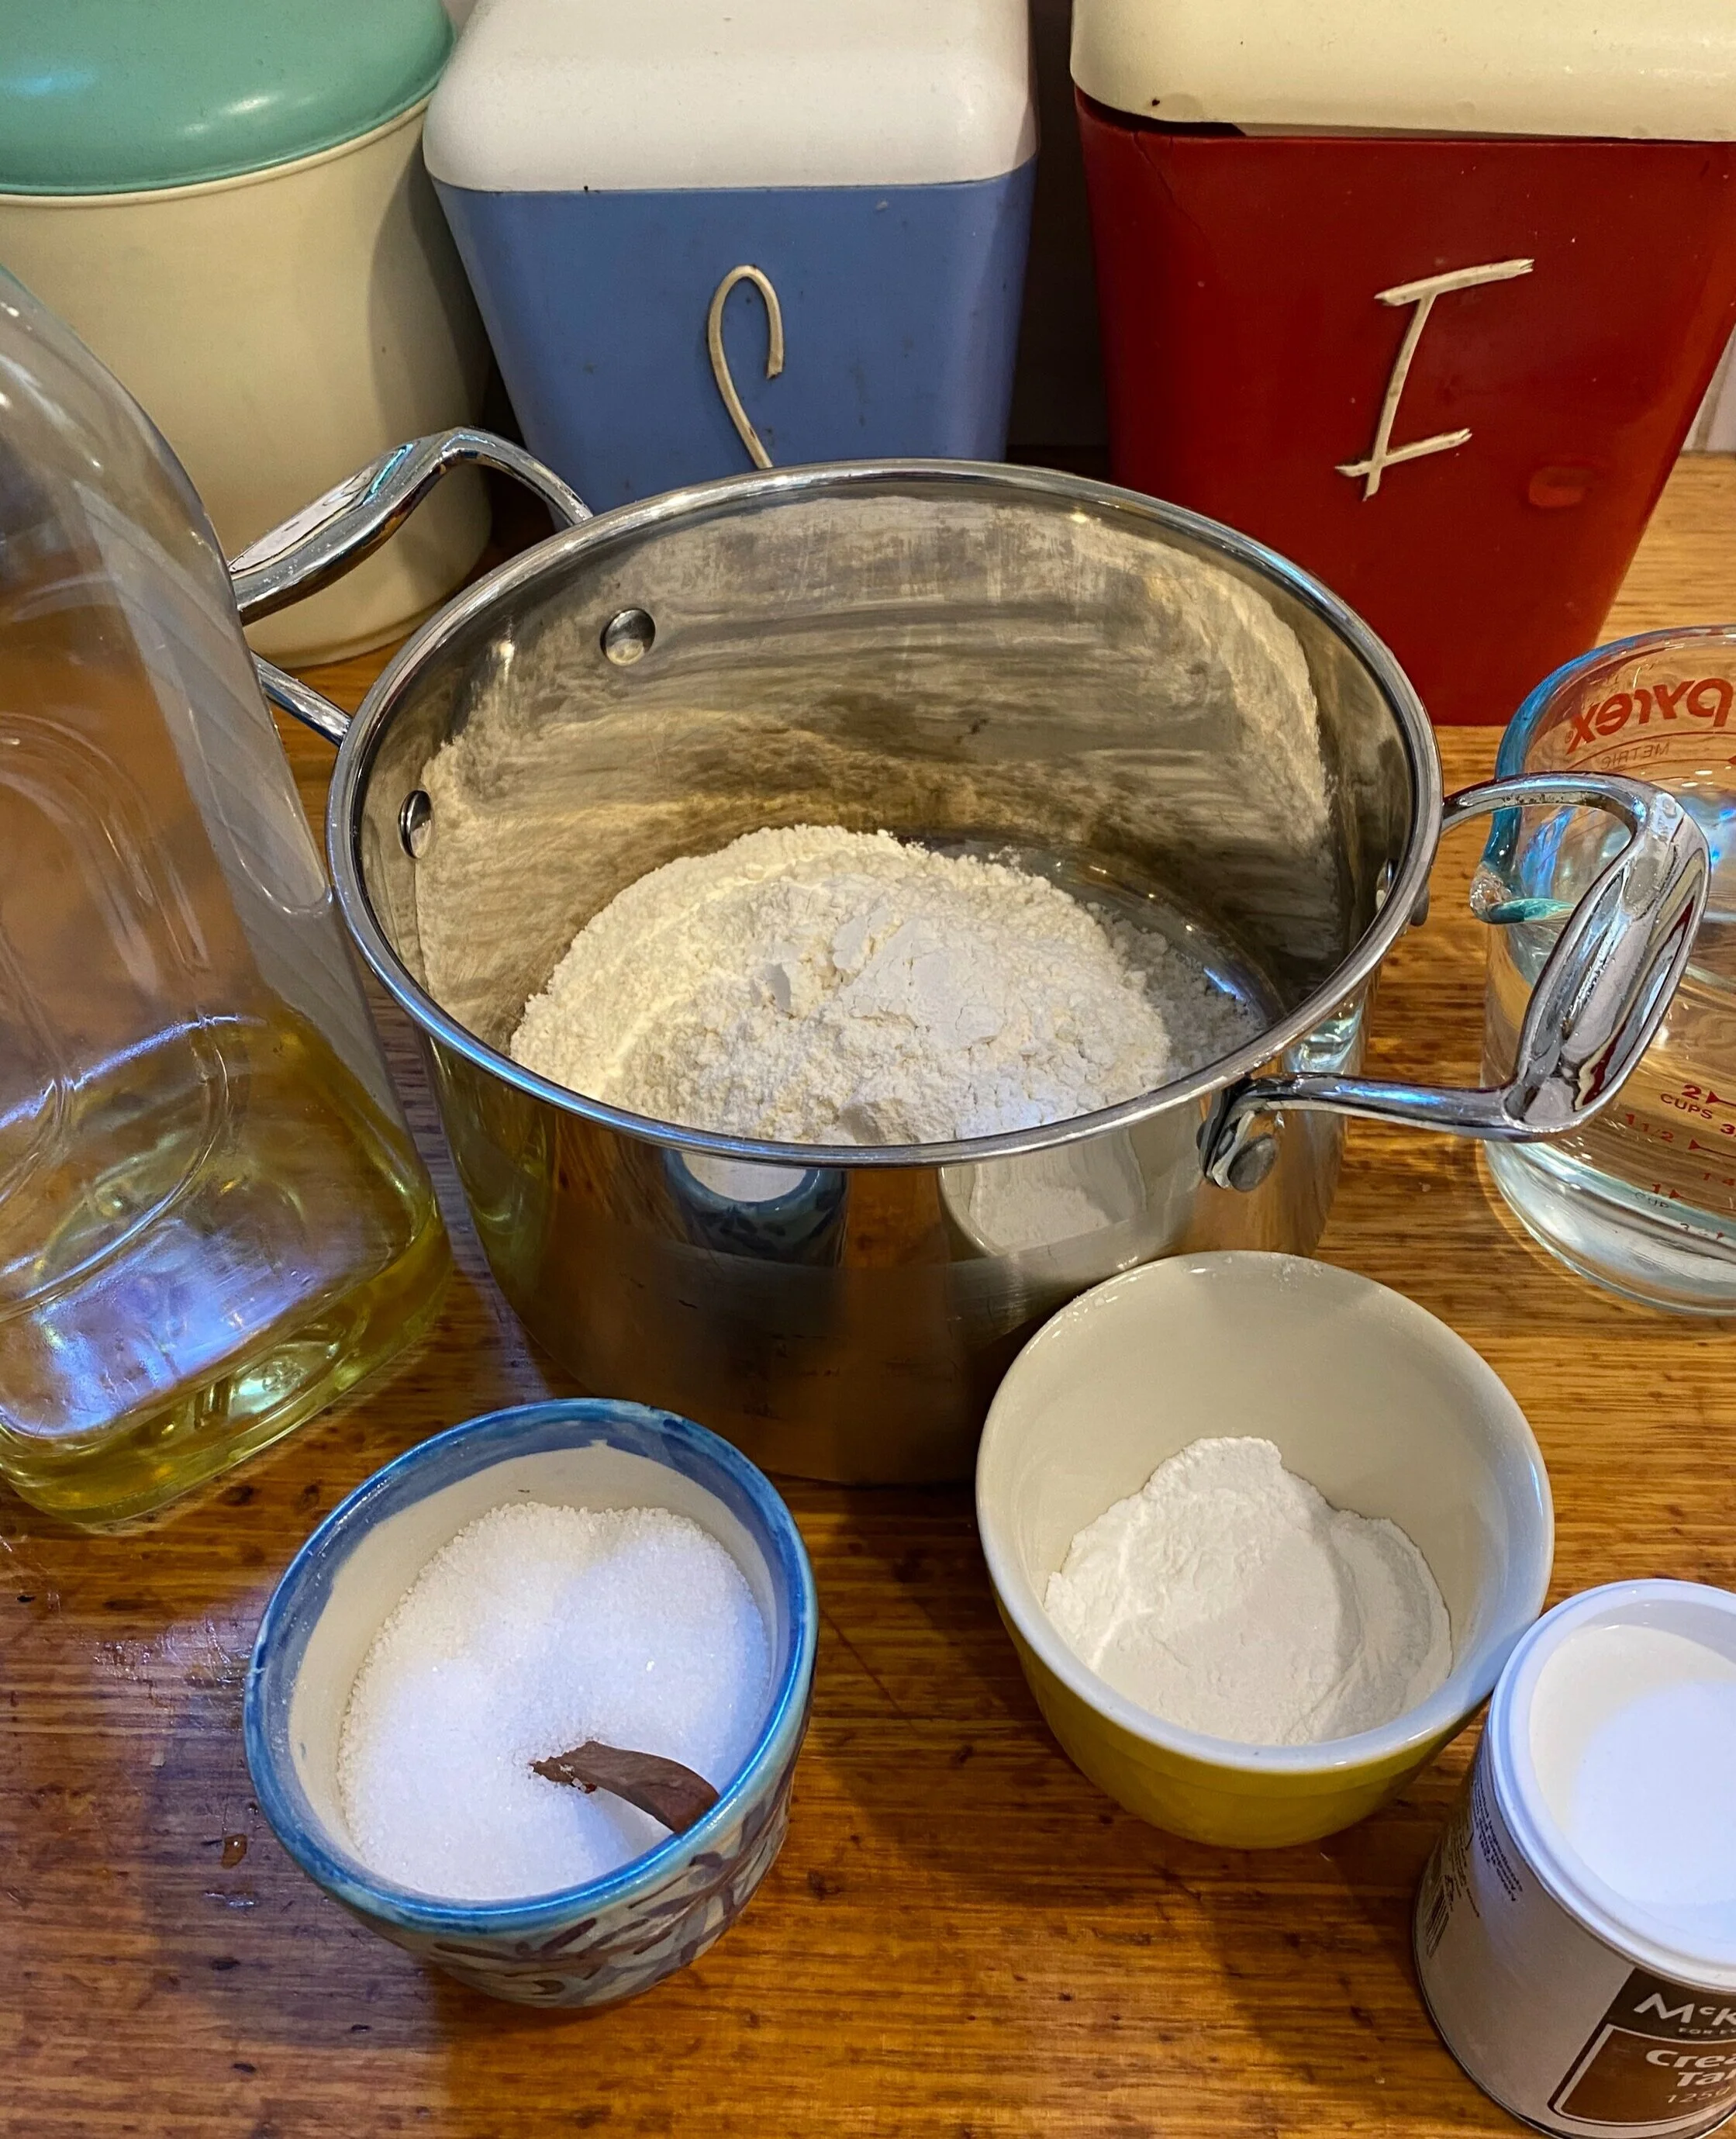
Just 5 simple ingredients, plus optional food colouring, is all you’ll need.
Mix together all the ingredients in a non-stick saucepan and cook over a medium heat. Keep stirring as it heats, thickens and eventually congeals to form one springy mass. Remove it from the saucepan and, when cool enough, knead the mixture until the right texture is achieved.

Sir the ingredients as you warm them.

Keep stirring! The ingredients will bind together to form a smooth mixture.

As they warm they will begin to form a springy mass. At this point take them off the heat.
You may like to add colours during the cooking, or after. To add later roll lumps into balls, poke a hole with your thumb and add a few drops of food colouring. Knead to spread through the ball. You might also add some scented oil, or some textures (eg. sand, rice).
The accessories:
cookie cutters, rolling pins, patty pans
plastic cups, bowls and cutlery
icypole sticks, pipe-cleaners, matchsticks
feathers, pine cones, sticks, bark, leaves
plastic toys, toy cars
egg cartons, chocolate boxes
The benefits:
it’s fun, creative and open-ended
it’s calming and sensory
it exercises little hand muscles and builds children’s hand strength
it develops fine motor skills
it enhances hand-eye coordination
The creations:
If left exposed to the air Playdough will dry out. This means you can’t preserve playdough creations, which may disappoint some little creatives, but you can easily photograph their masterpieces and admire them later.
The cleanup:
Let’s be honest… playdough can be a bit messy-ish. So if that irks you, think ahead - set it up on a surface that’s easy to wipe or where mess doesn’t matter (on an outside table for example). When cleaning up playdough, start by picking up any pieces that have broken off by pressing a larger piece of moist dough onto the crumbs to lift them up. It’s easy to wipe off any residue with water, but if playdough gets onto textiles or carpet don’t reach for the soap and water as moisture may dissolve and spread it further. Instead let it dry, then pick it off and finally loosen it with a stiff brush. Any remaining dry crumbs can be swept up or vacuumed.


