Brick Factory
This game was first inspired by the book “Ramona the brave” by Beverly Cleary. In the book, real bricks from a real building site were used. Two 6 year olds simply using big rocks to pound the bricks and turn them into dust.
The version we play at First Steps in Nature is a little bit different.
Brick Factory can be captivating and engaging for even the youngest players! It is simply a game of making mud, scooping that mud into moulds, letting the bricks dry, turning them out and pounding them into dirt…ready to mix with water, make mud and repeat the cycle!
Here’s how it’s done;
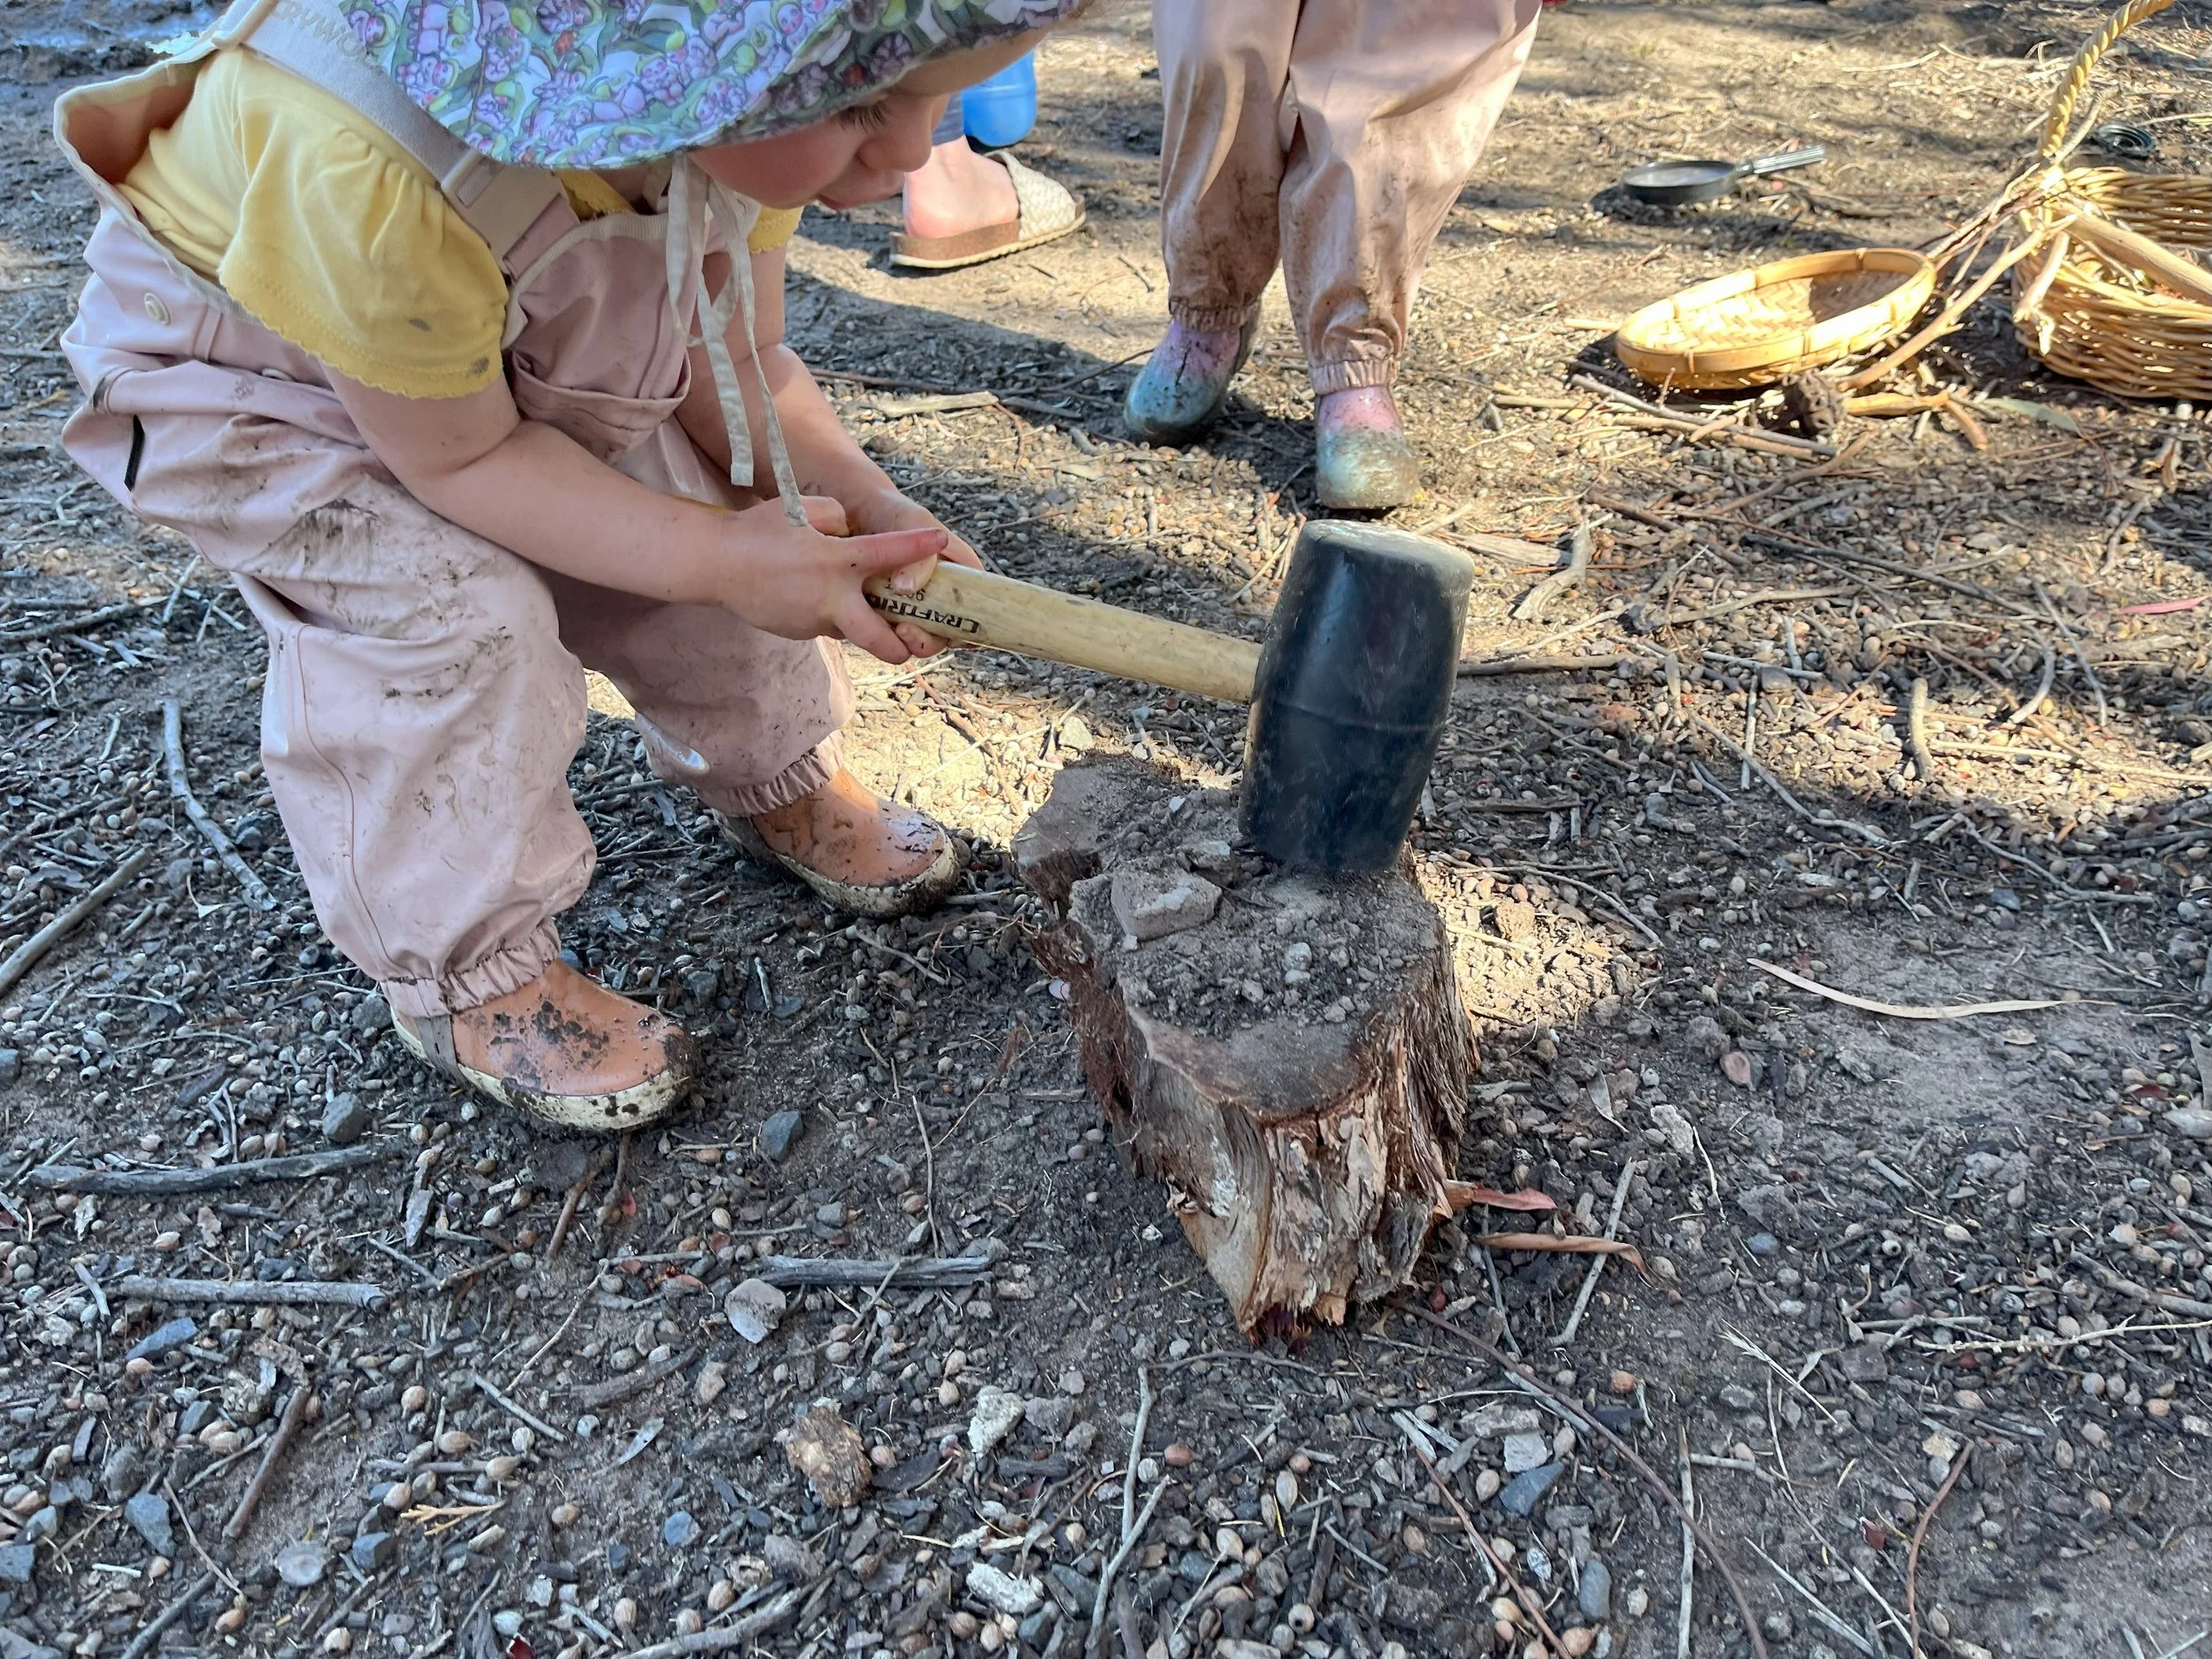
Step 1 - Make the mud
Turning a giant muddy mess into bricks
The point of the mud making is to get the bricks ready for the next stage, but it is also about building comfort with messy hands and feet. It’s about feeling the texture, temperature and consistency of the mud.
The mud making is about digging and water play and imagination. Let the mud-making take the time it needs and be as messy as you’re up for. Dig into hard dirt using whatever tools you have handy. Maybe it’s a sharp trowel, maybe it’s a plastic scoop or an old stirring spoon. The children soon learn what works in different dirt environments.
Mix some water in - using a tap, a cup, a bowl, jug or teapot and allow your child space to take the lid off a container of water, co-ordinating twisting movements and building strength.
Mix the water into the dirt with a stick, metal spoon or hands. This again builds grip strength and hand-eye co-ordination. It can also be immensely captivating for the child. They can get lost in the mixing, the feel of the dry dirt coming together with the water to make a sticky mud. For many of the children I have worked with, this bit is the most fun (and doesn’t always end in bricks being created)!
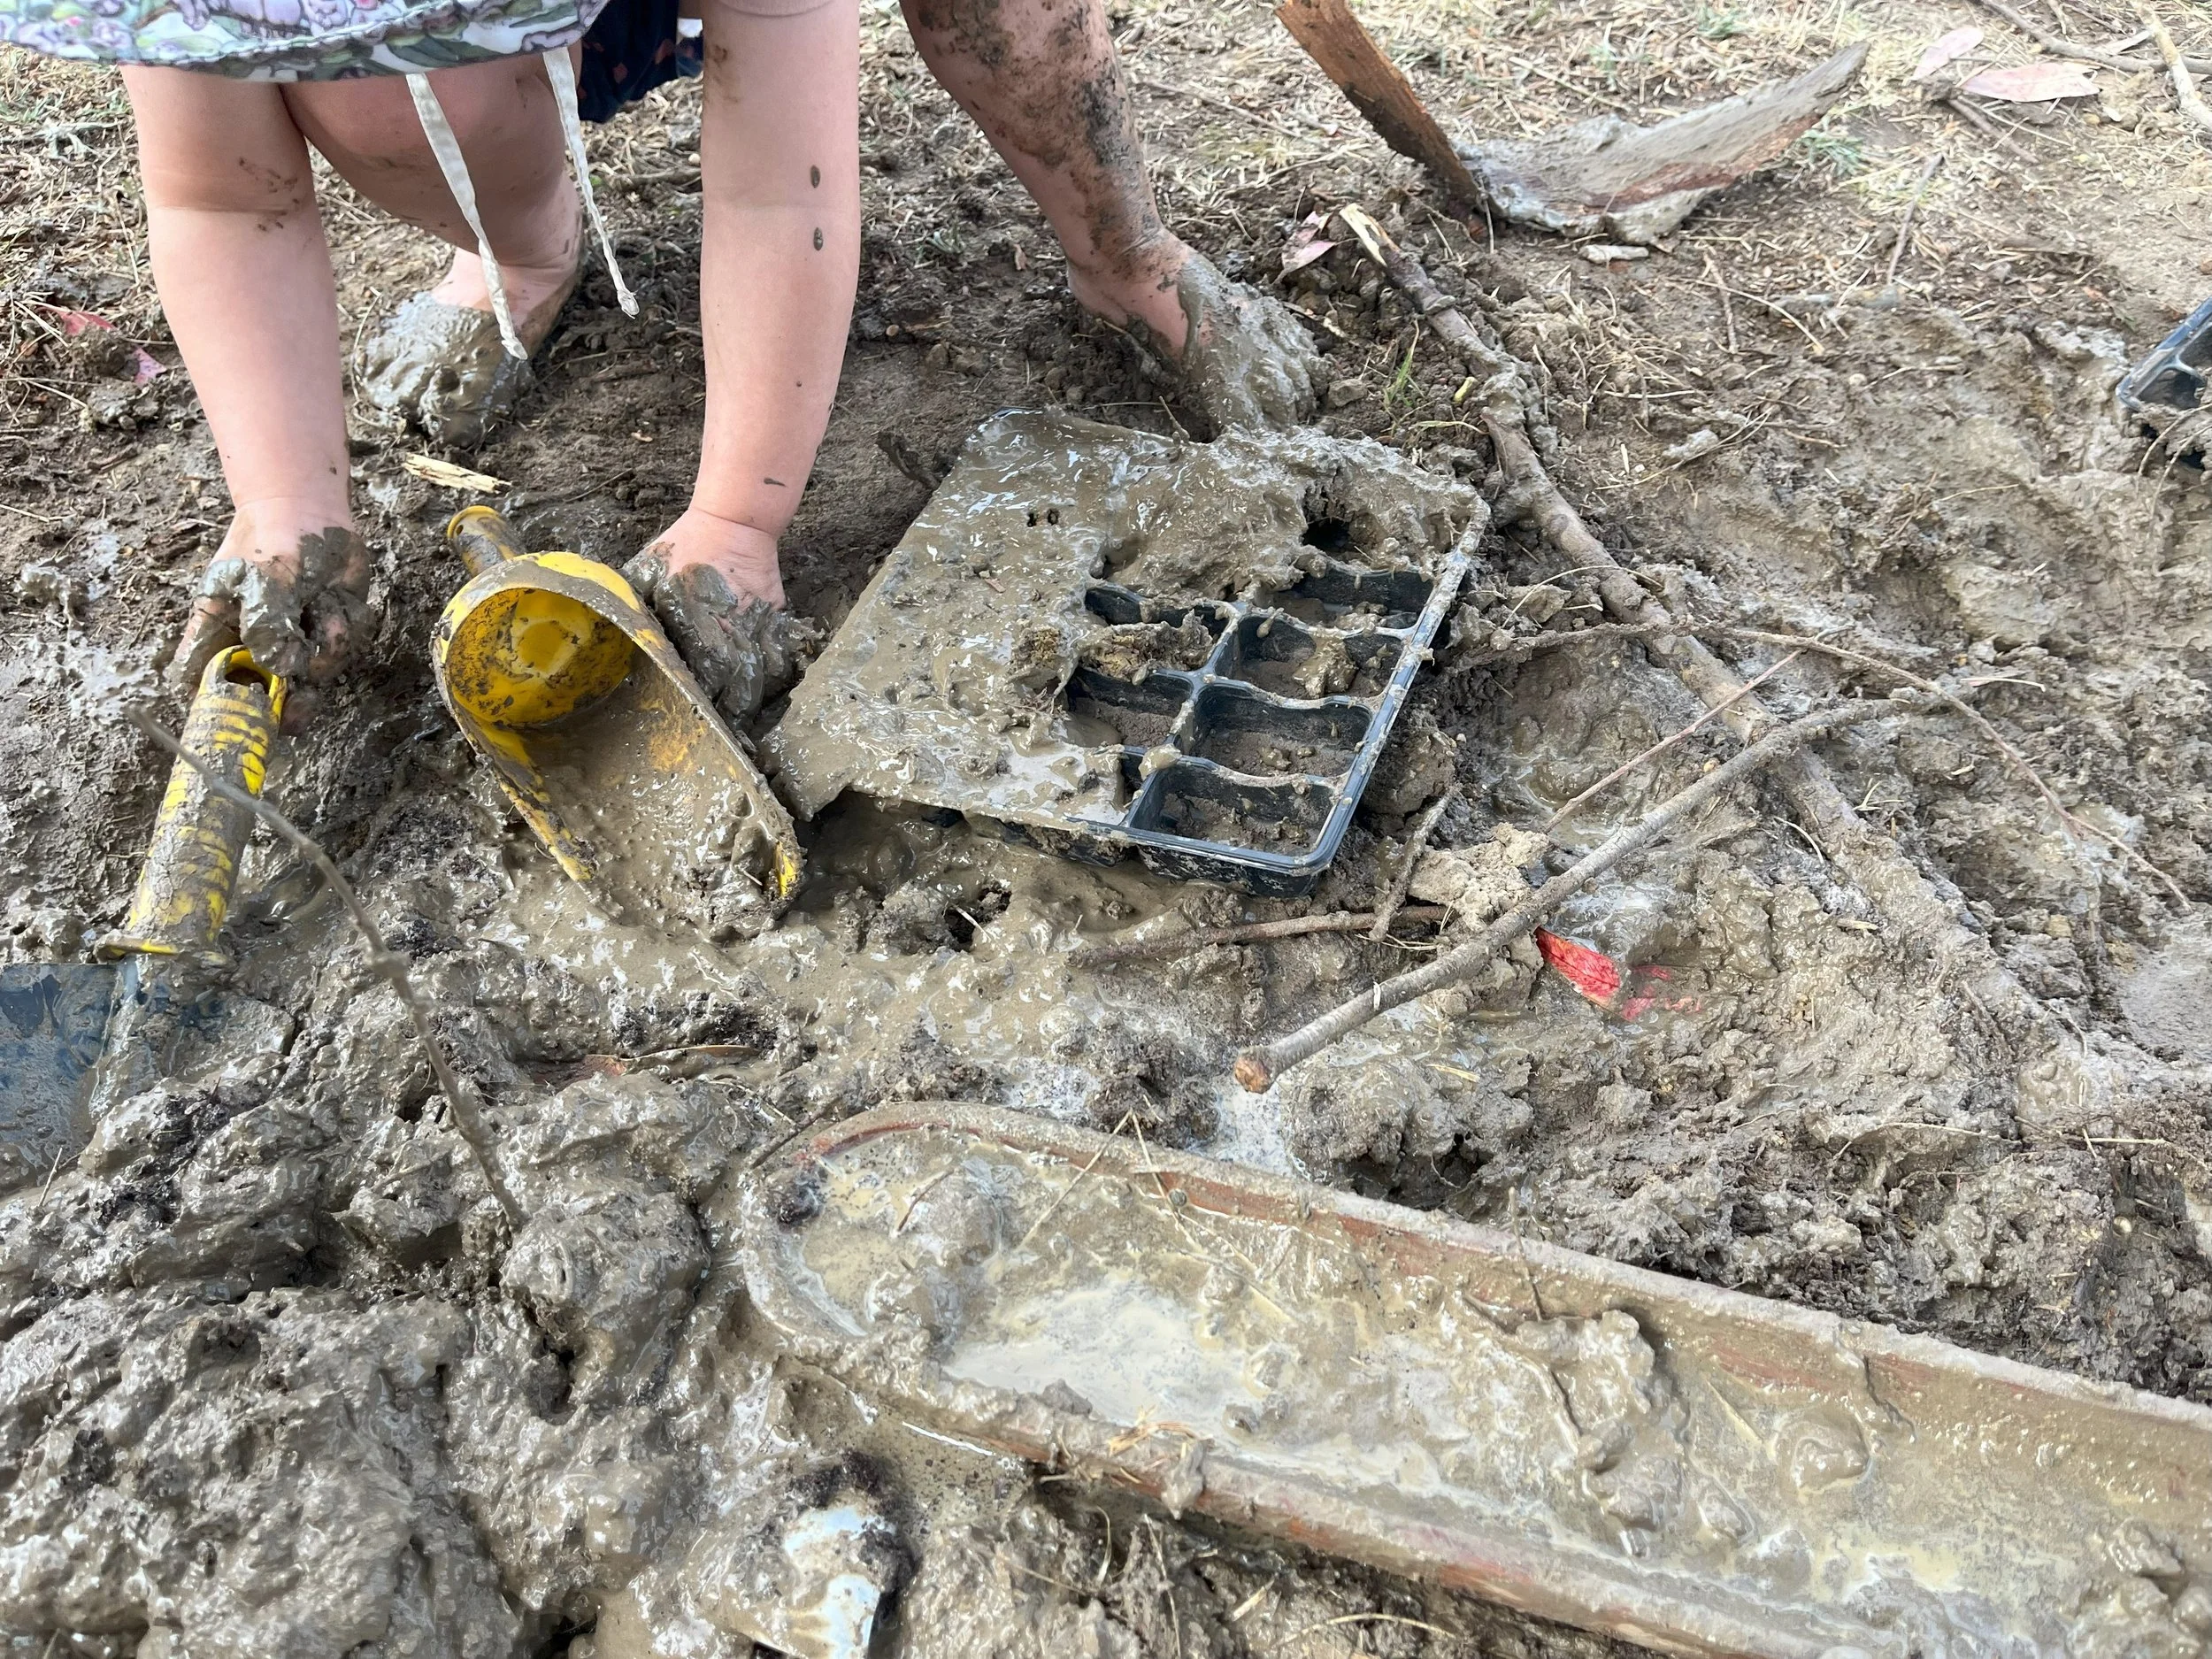
Step 2 - Mould into Bricks
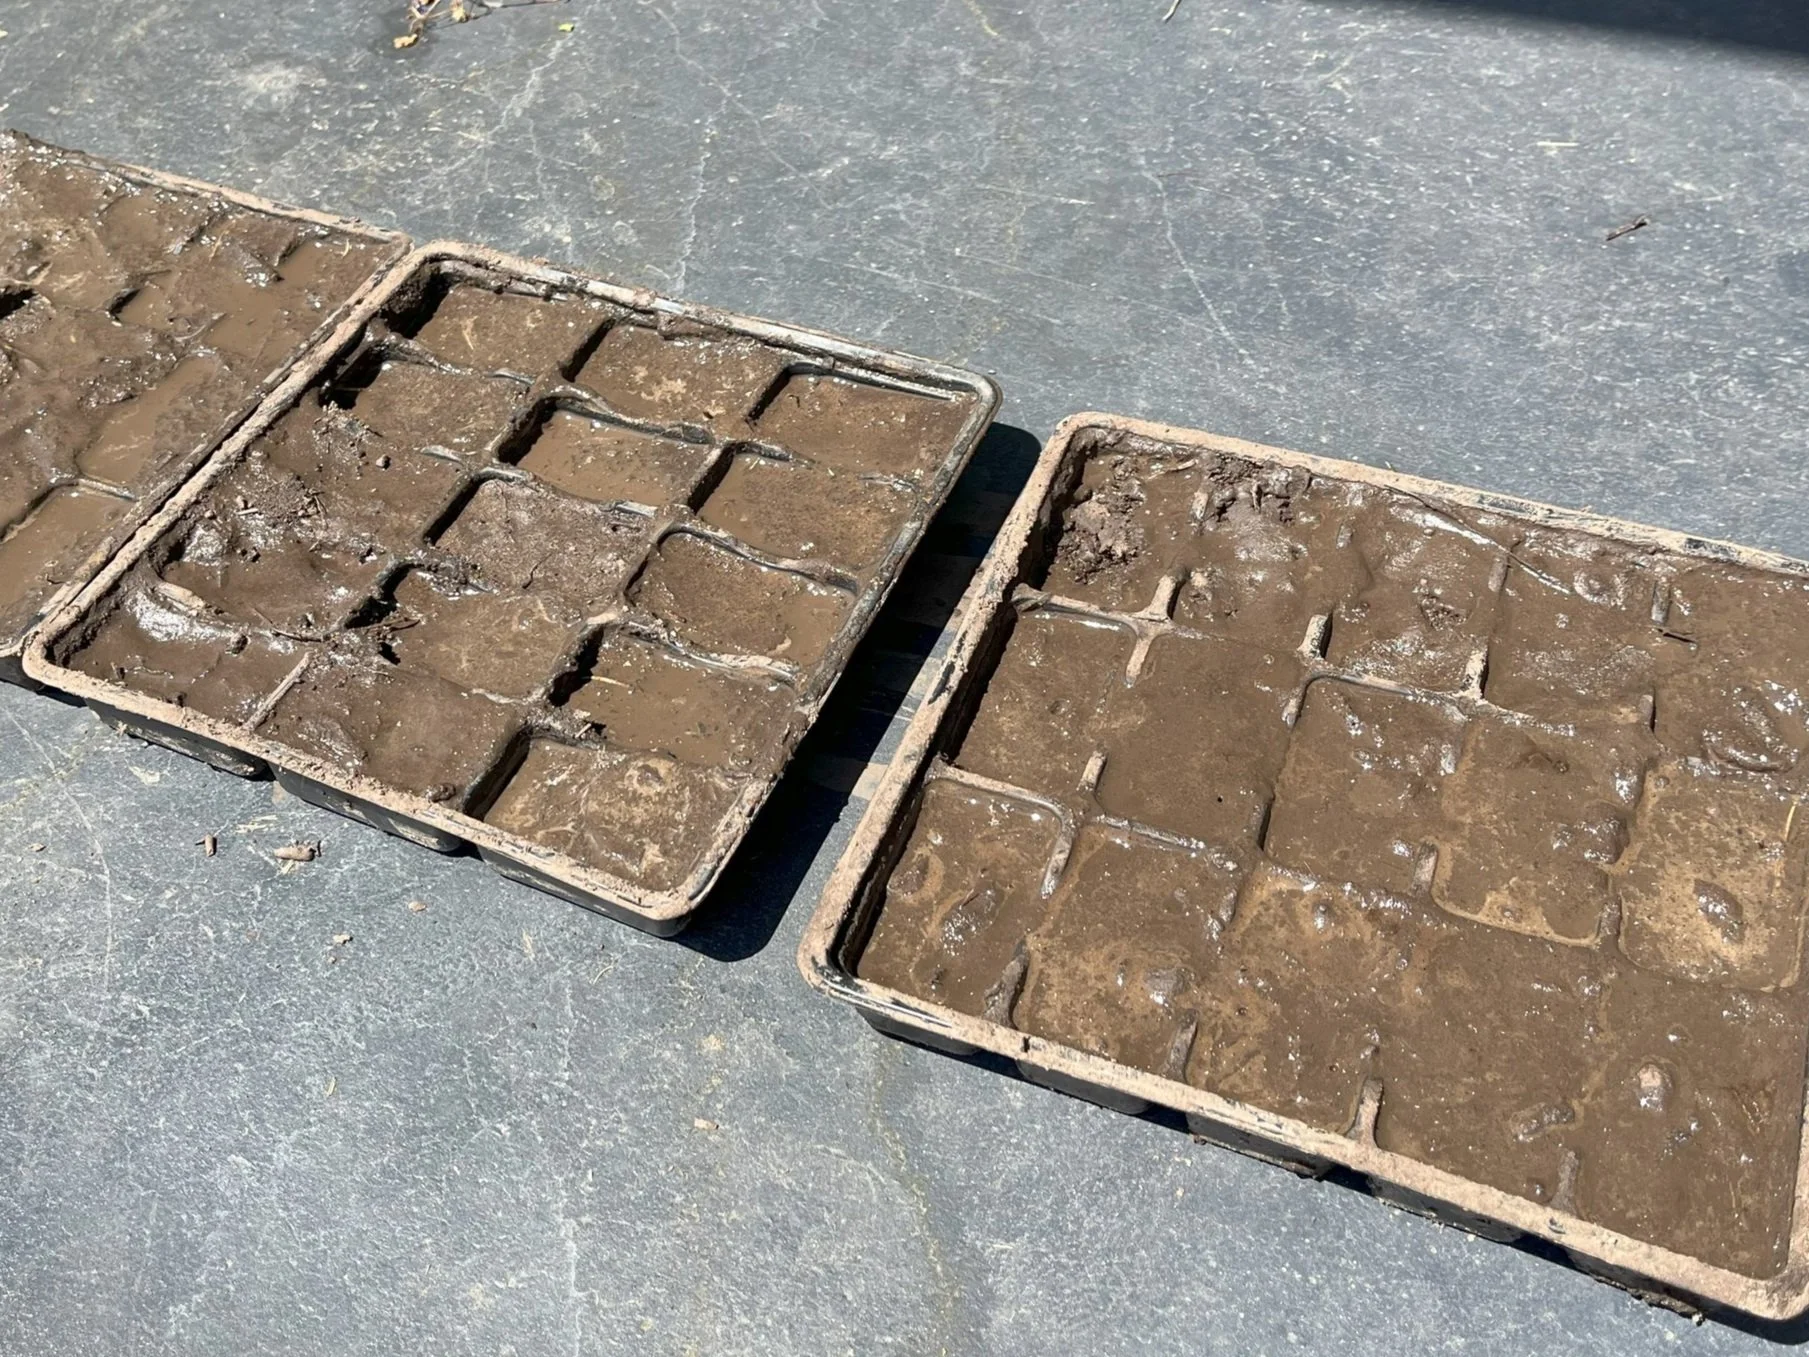
Drying the mud bricks in the sun
I use plastic trays which were originally packaging from Gluten Free Dumplings. The trays are solid enough to hold the mud, but flexible enough to push the formed bricks out once they are dried. You could also use ice cube trays or other moulds. There does need to be some flexibility in the bottom though, so you can get the dried bricks out and allow them to maintain their shape.
Once the mud is in the moulds, leave them in a spot to dry. It can take a few days, depending on the weather. Experiment with the best spot for sun, out of reach of little hands or pets etc.
Step 3 - Build with the bricks
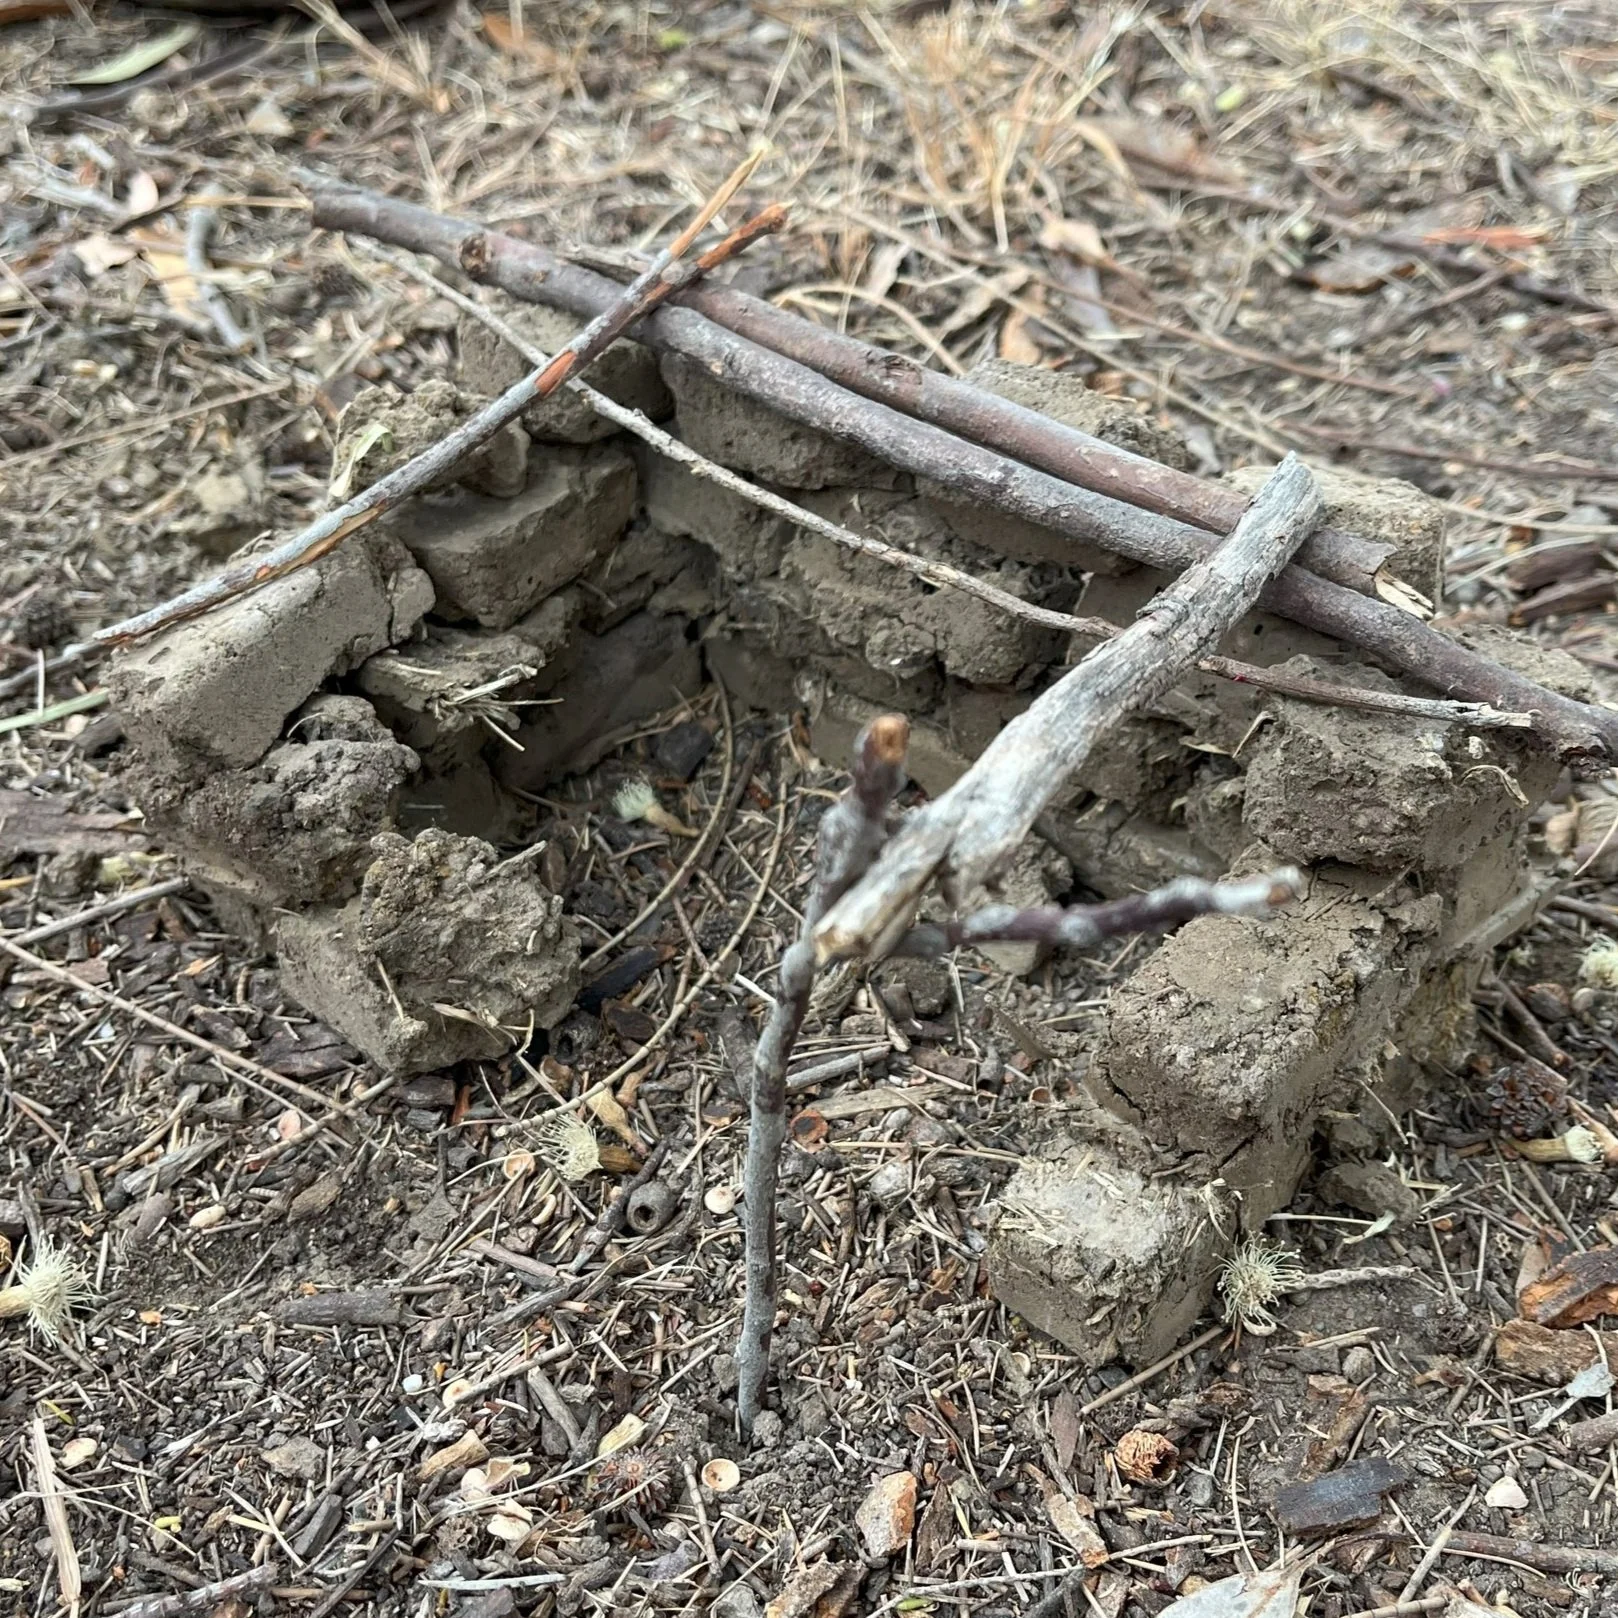
Making a mud brick house
Whether this step happens or not depends on your child. Over the years I’ve been running Nature Playgroups sessions, this step never seems to last too long. The adults like building, but the kids mostly want to skip straight to the pounding part!
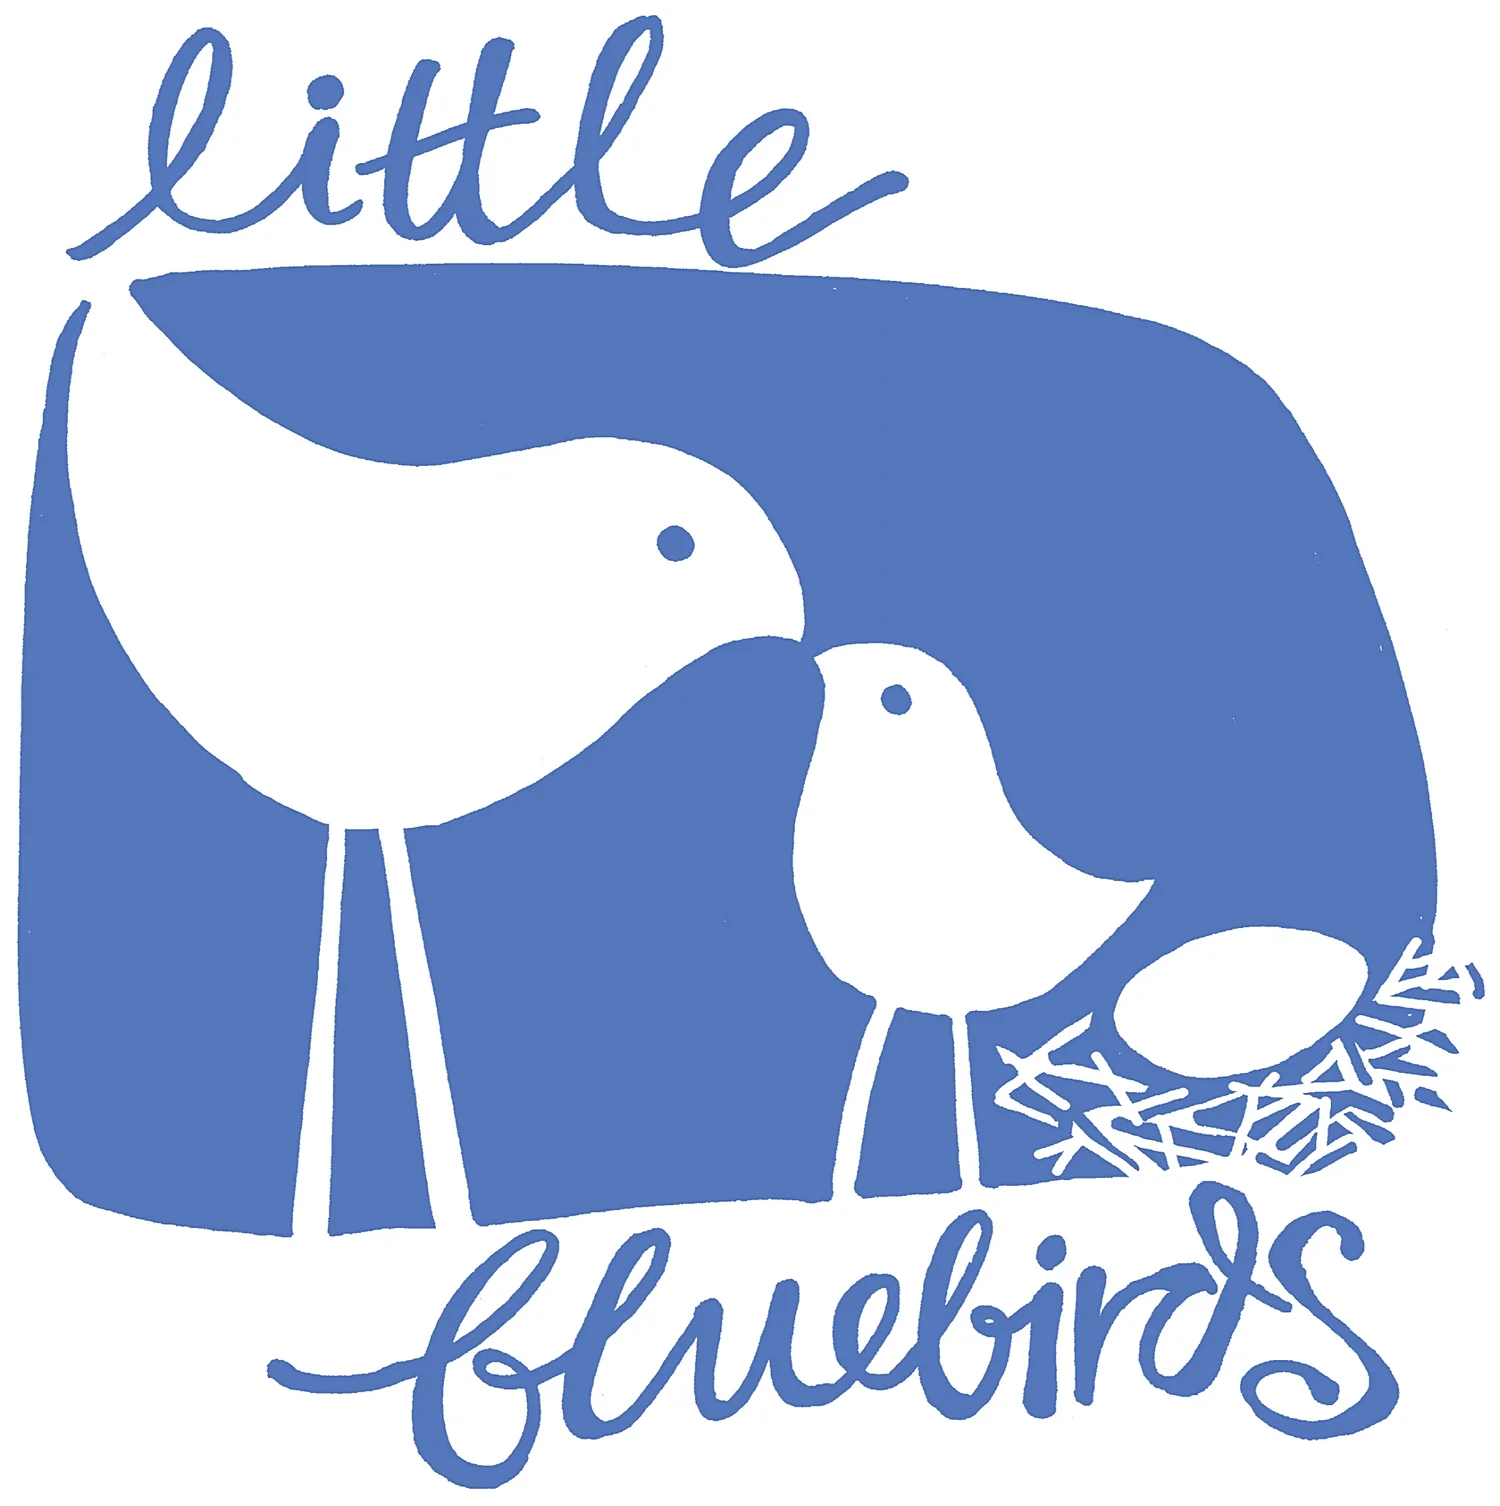
Step 4 - Pounding the bricks
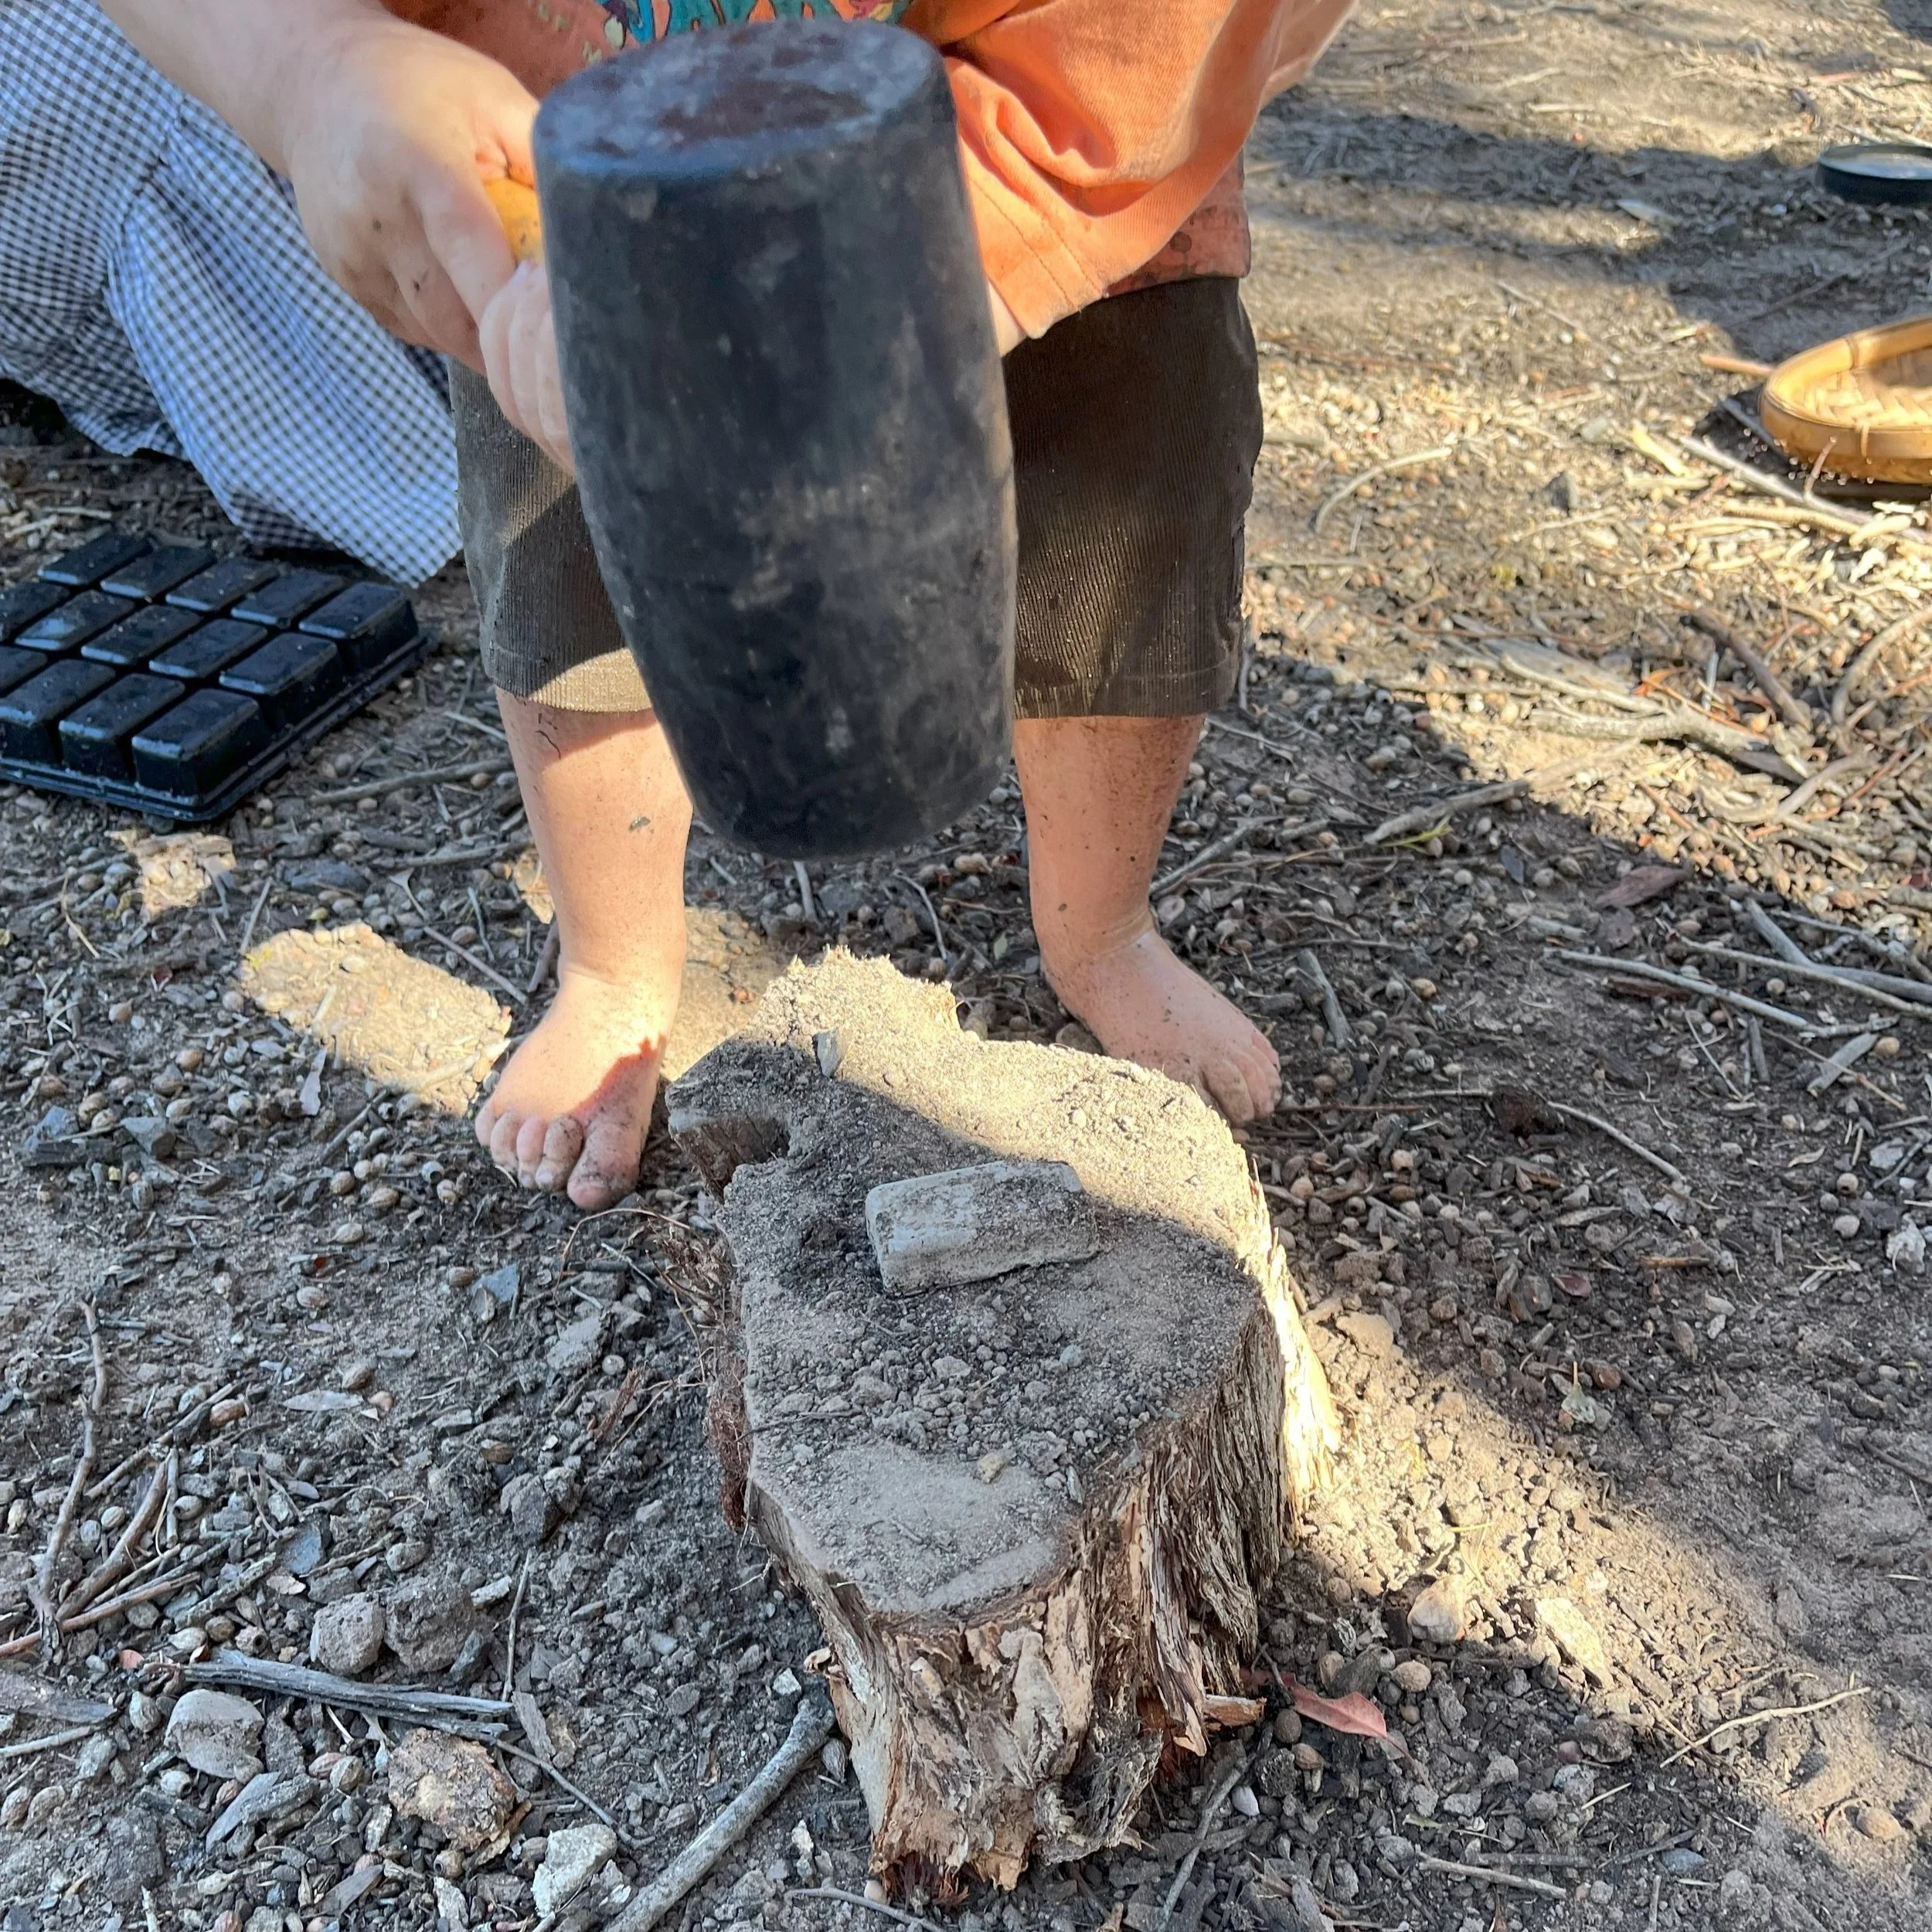
Heavy work with a rubber mallet
This is the fun part for many kids and they want to rush straight into it! I am always sure to have a few ground rules, to set the scene so that the children can be free to be strong in their movements, but not harm themselves, others or property that shouldn’t be damaged. It is important to set boundaries for the pounding so the children learn to pay attention to their surroundings when doing hard physical work. And when they do get a turn, they can be confident in their movements and channel their physicality, strength and enthusiasm into the task.
Make sure there is a hard surface to put the bricks on - I like to use a tree stump or a sturdy block of wood
Give them space - I always speak this bit out loud when we smash bricks at First Steps. “Let’s all stand back and give Emily space to be strong”. I like to give the children space to swing the rubber mallet with confidence and strength. They take responsibility for this and never just swing wildly. This helps to channel their strength into the task, not into recklessness. Make sure you hold space for this to happen for your child. Be sure to check your own discomfort and not coerce or force them to be safe. (don’t be afraid to take the mallet away if they are angry or aggressive though).
Show them how to hold the rubber mallet, pass it to them in a way that indicates how to hold it, or let them navigate this themselves - guiding them gently if they are not going to be safe with the mallet.
Be unafraid to let them freely learn how to co-ordinate their movements and hit the bricks. But also be unafraid to step in if you see that they are going to hurt themselves or others in ways that make you uncomfortable (I’m deliberately vague here as some children learn by really putting their bodies on the line! It’s ok to get the odd bruise on the shin or a bit of a squashed finger in my opinion. Where you draw the line for your children and when you step in is ultimately up to you when they’re in your care).
I like to use a rubber mallet, but you can also use other tools/rocks/wood blocks to do the pounding.
You’ll discover that different muds create different bricks - some harder than others to smash.
At First Steps we’ve had children as young as 1 have a go when they show interest. Sometimes the youngest just want to watch the older children. Those less strong and less co-ordinated may not be able to manipulate the mallet in the same way as the older kids, but they can still be creative, build strength and have a lot of fun.
I use language such as “strong”, for children of all genders. They all have capacity to get stronger, to move in ways that build strength and co-ordination. Strong arms, strong shoulders, strong back, strong legs.
What are they learning?
As a teacher, I’m always thinking about what the children are learning through their play. In this game, they are not only building strength in their hands and bodies, they are also building hand-eye and body co-ordination. They are building awareness of their strength, of the safety of others around them and of their environment. Smashing bricks can sound wild and dangerous, and it can certainly be played in this way, but it can also be done with care and respect.
They will also learn about texture and consistency (do the bricks smash easily because they’re very sandy - maybe they fall apart before they even get out of the moulds). Are the bricks too muddy still because they haven’t dried fully?
They will learn about giving others space and be given space to focus and concentrate on a movement/activity/task.
They can learn about self-regulation. When it feels so good to be strong and physical with a movement/task, channelling their strength or feelings into a constructive task.
They will also be learning so much more, depending on your environment, who they are playing with and exactly how they go about the task/game.
Happy exploring with mud, bricks, building and pounding!
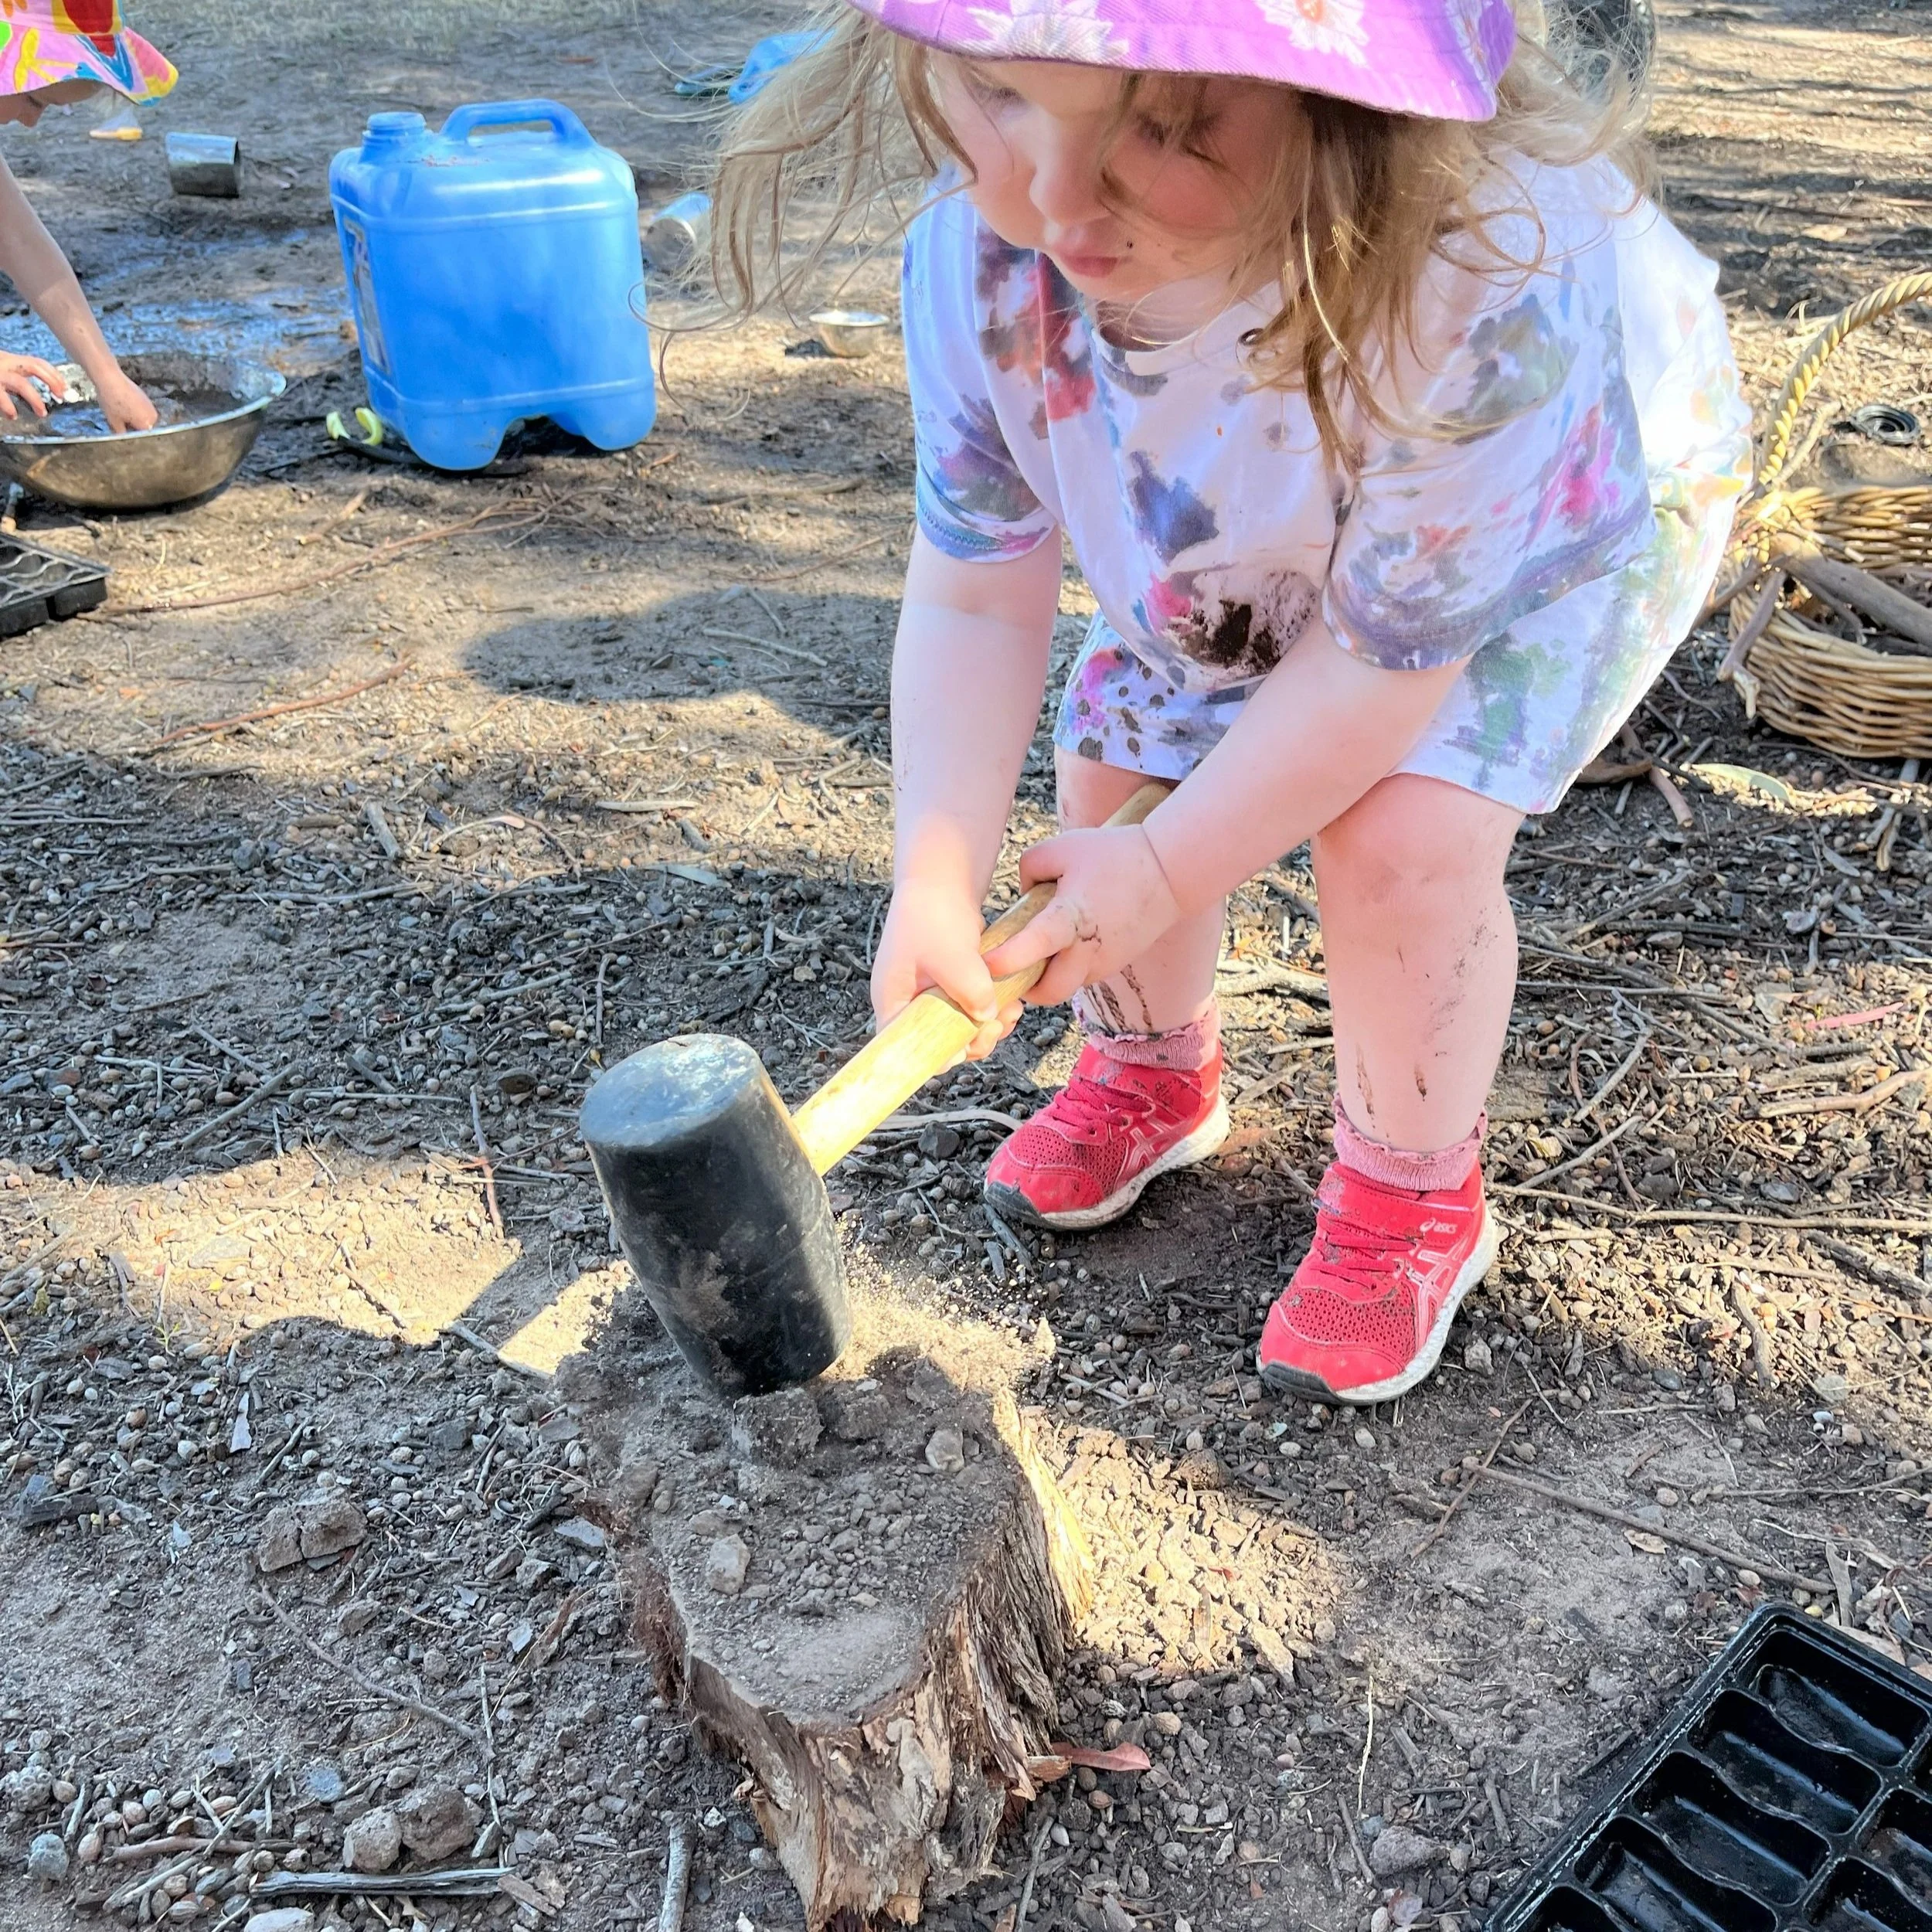
Concentration, space and strength doing heavy work.

