
How to Make A Mud Kitchen

Ah mud...glorious mud! Does it ever lose it's charm?
My Nature Play groups have a favourite activity, and that is the mud kitchen! If you'd like to make one at your own house, there are a few steps to take. Make it as elaborate or as simple as you wish.
- STEP 1 FIND A SUITABLE SPACE
If you have a large garden, you'll easily be able to find a space for a mud kitchen. If you only have a small space, then a simple pot of dirt will suffice! If there's really nowhere in your garden that is suitable, perhaps you could find a friend or grandparent who does, or you can take the fun down to a local park or bushland (although there may be restrictions on the amount of chaos allowed). There are a few Nature playgroups around now too, where you can have the fun without the set-up or pack-up!
- STEP 2 FIND SOME EQUIPMENT

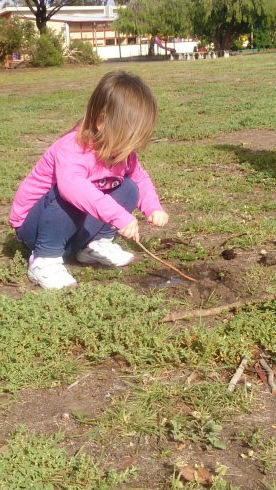
For a simple mud kitchen, all you really need is dirt, water and hands! Depending on the soil in your garden, it can be hard to dig a good hole with just fingers. A spade is the obvious choice for digging, but a piece of bark or a strong stick can also do the job! Make a hole to be the "pot", add the water and let the fun begin!
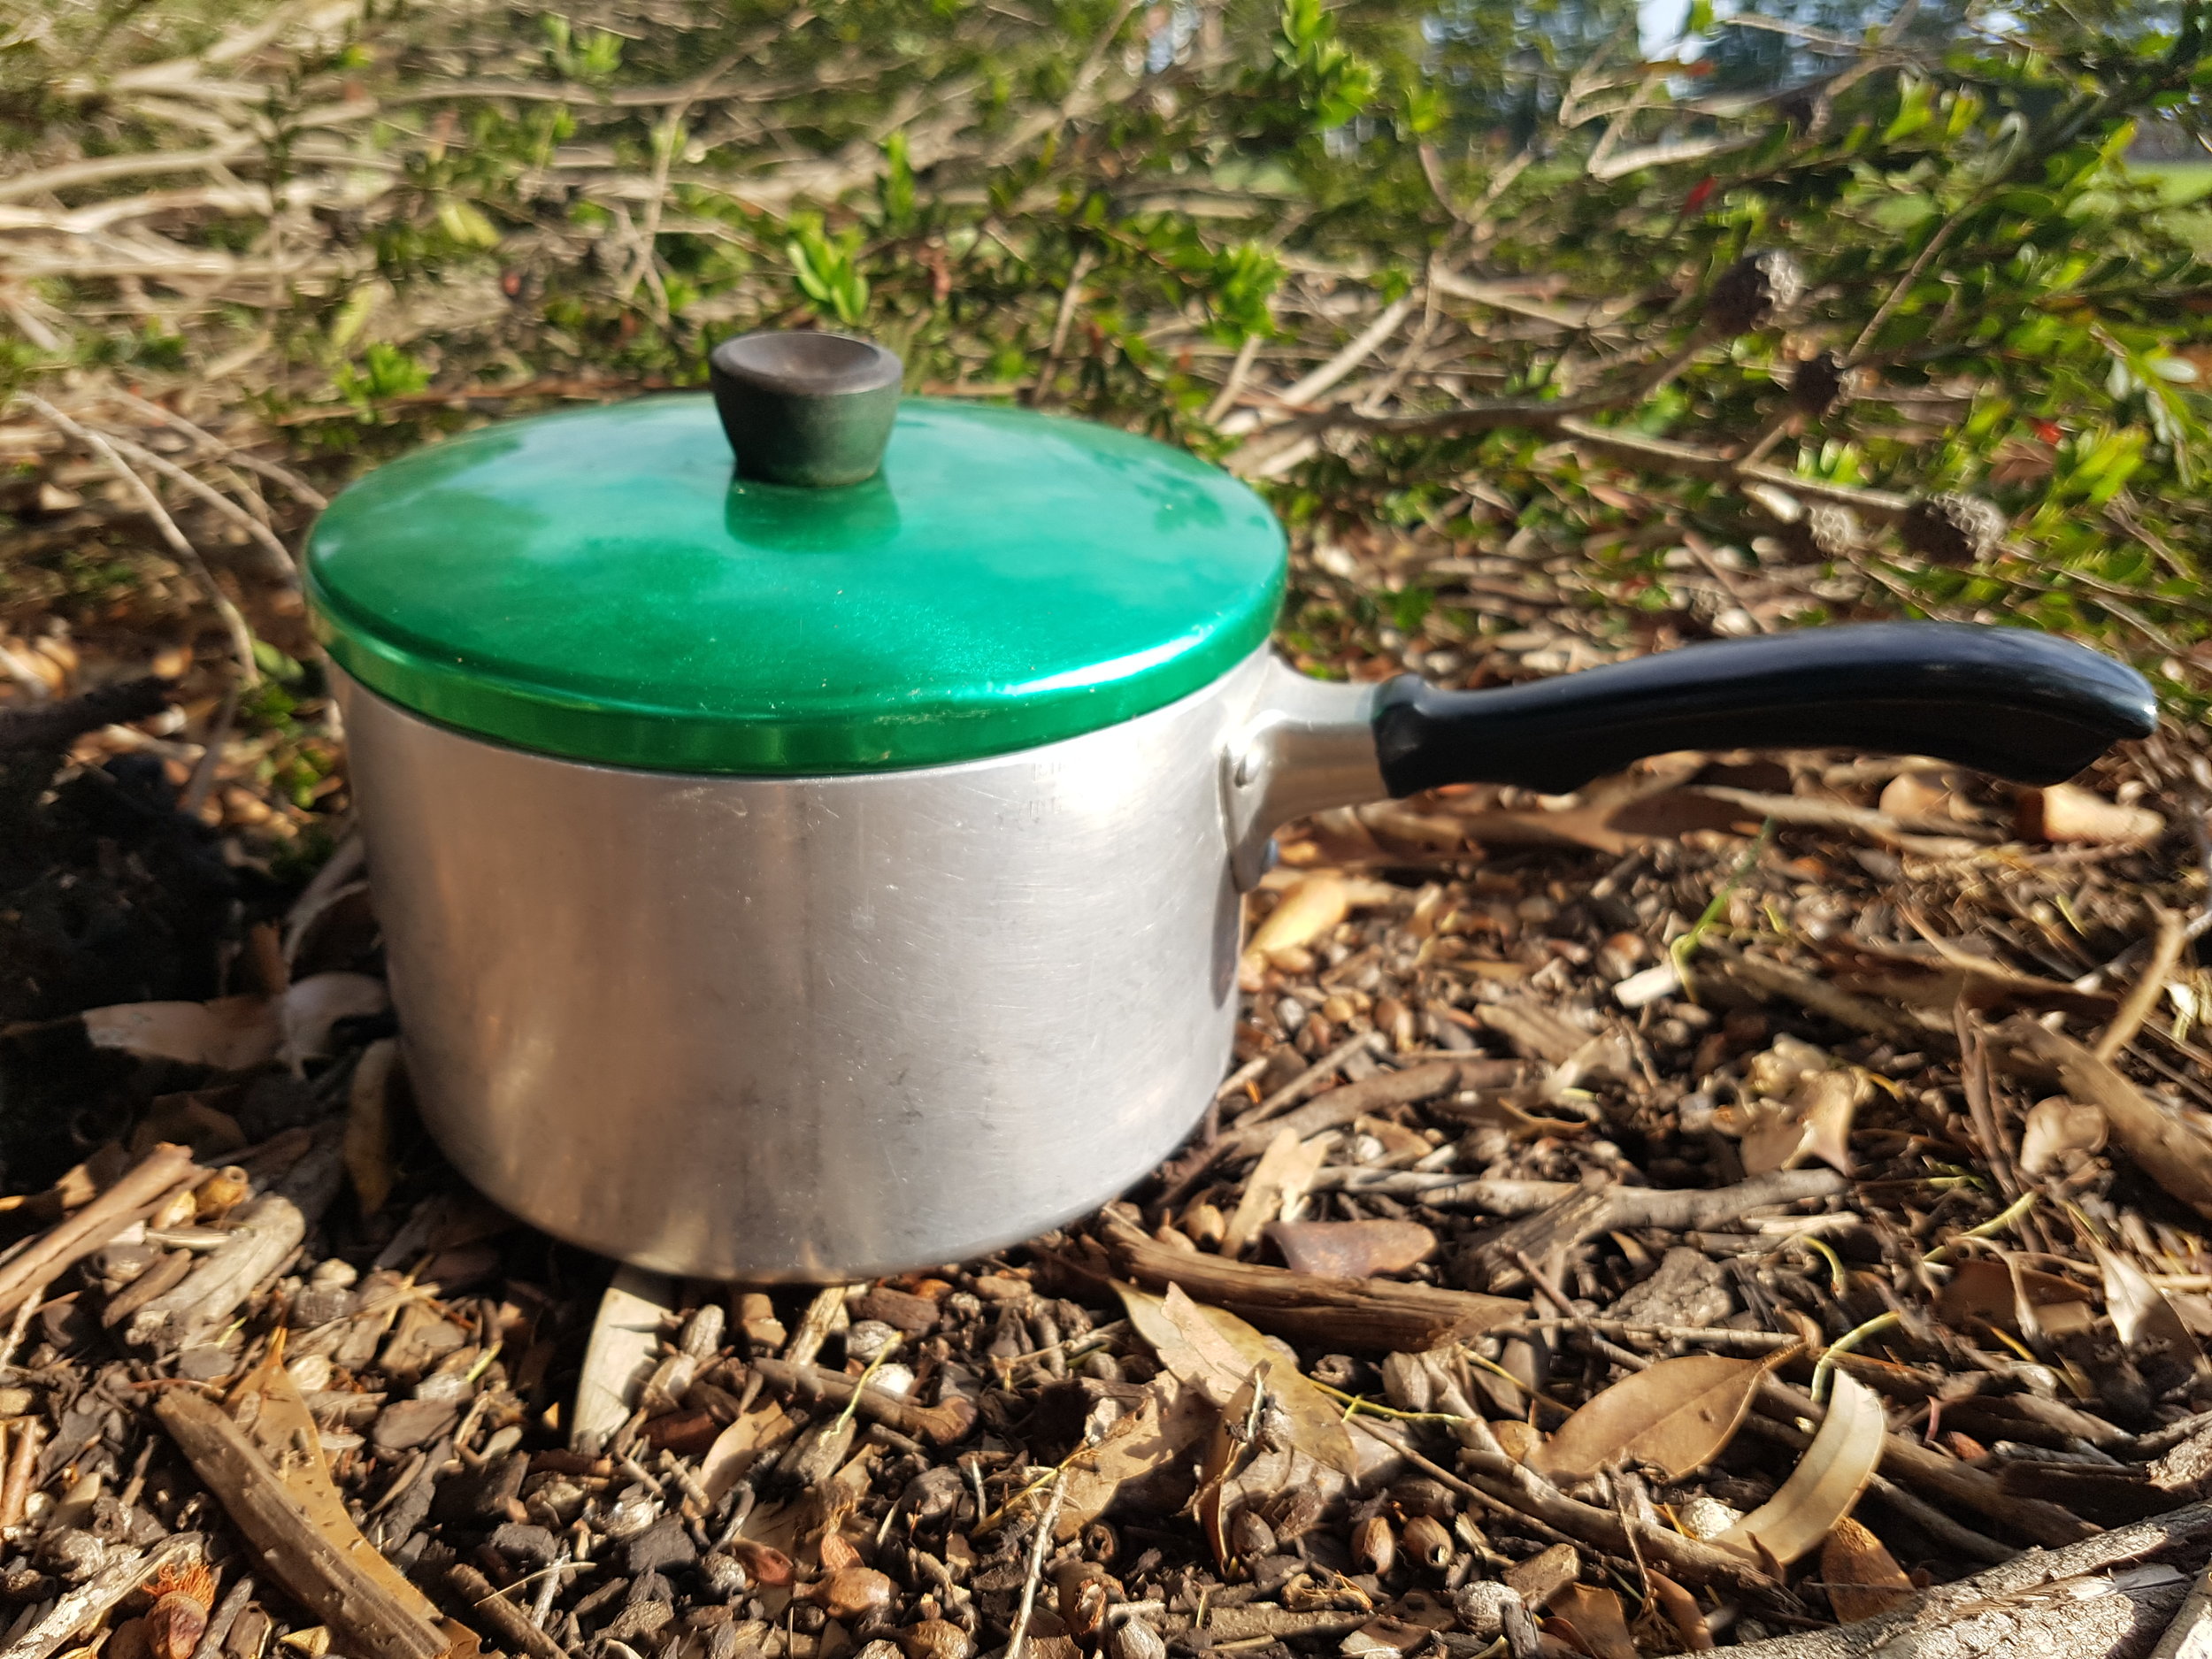
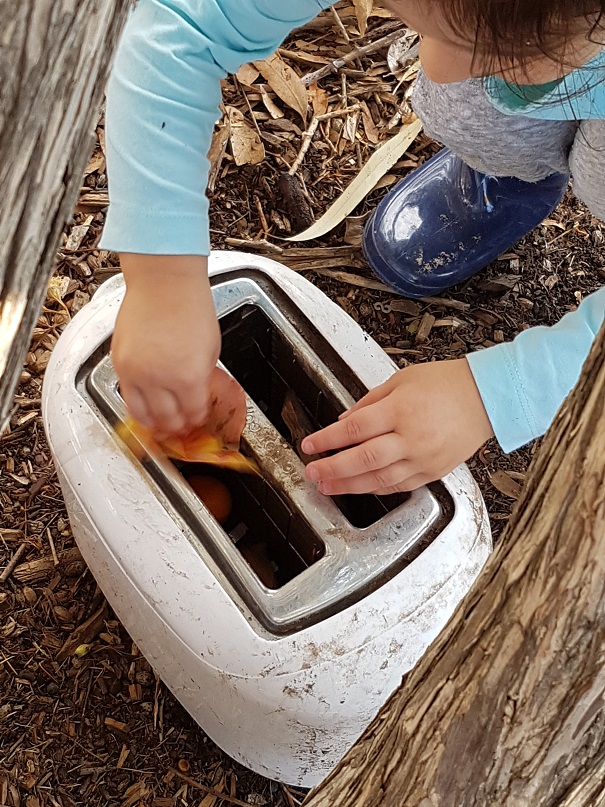
If you really don't like the idea of digging a hole, or you are not able to dig where you are, then an old cooking pot could come in handy. Ops shops can be fabulous resources for old pots and pans. You may even have some in your own cupboards, or at Grandma's house? Don't stop at just pots and pans though. How about an old microwave? Or an old toaster? Or any other appliances that no longer work (with any blades removed though). Wooden spoons that have seen better days, wooden goblets, muffin trays, pretty baskets and serving trays can all be useful. Sushi mats are popular in my mud kitchen too! The possibilities are endless and restricted only by your imagination.
Little fingers love to explore and developing brains are keen to work out how things work. Is your child particularly interested in pouring? Or obsessed with bottles? I remember when my daughter just loved screwing lids on and off bottles. It would hold her attention for a very long time. In my kit now I have;
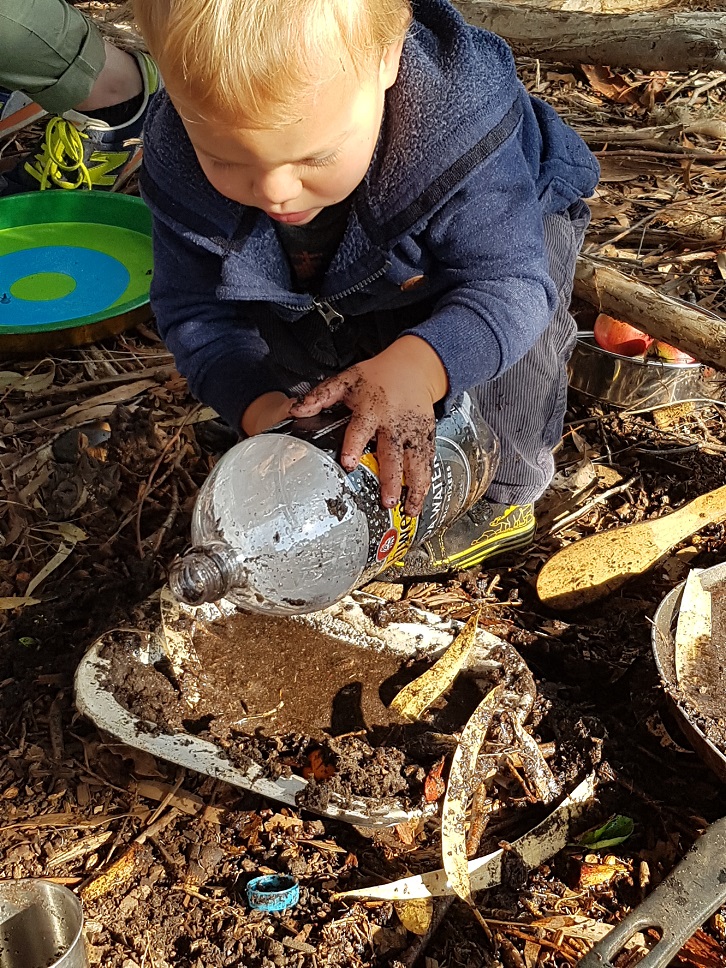
- a bottle that pumps water,
- a container with a tap,
- a squeezy bottle,
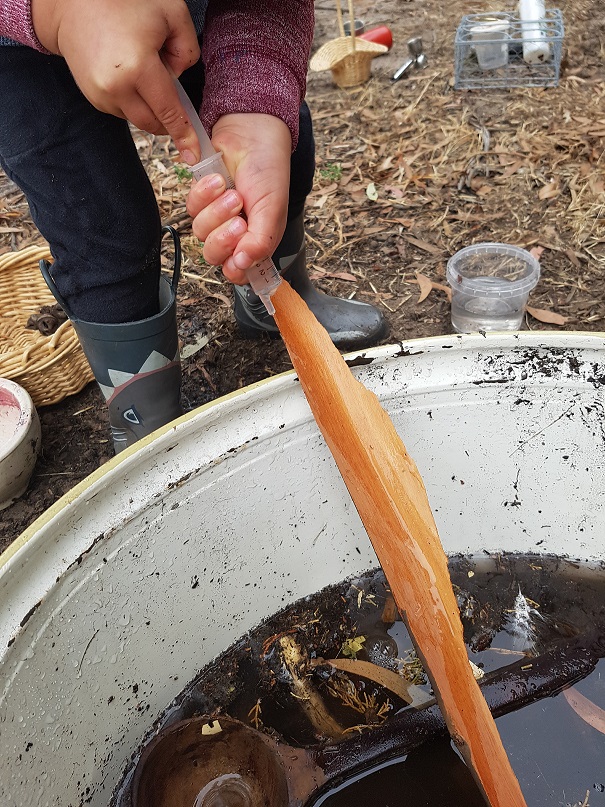
- a plastic syringe,
- something to scoop with
- some jars, cups and jugs.
- forks, spoons and other utenstils
- a mortar and pestle (a wooden pestle is best)
Watch how your child works out how to manage these things. It can take quite a lot of concentration and practise to get good at these skills. I have seen many a proud face when the kids manage it though! The other good thing about learning and experimenting with these skills outside is that all the spills don't matter.
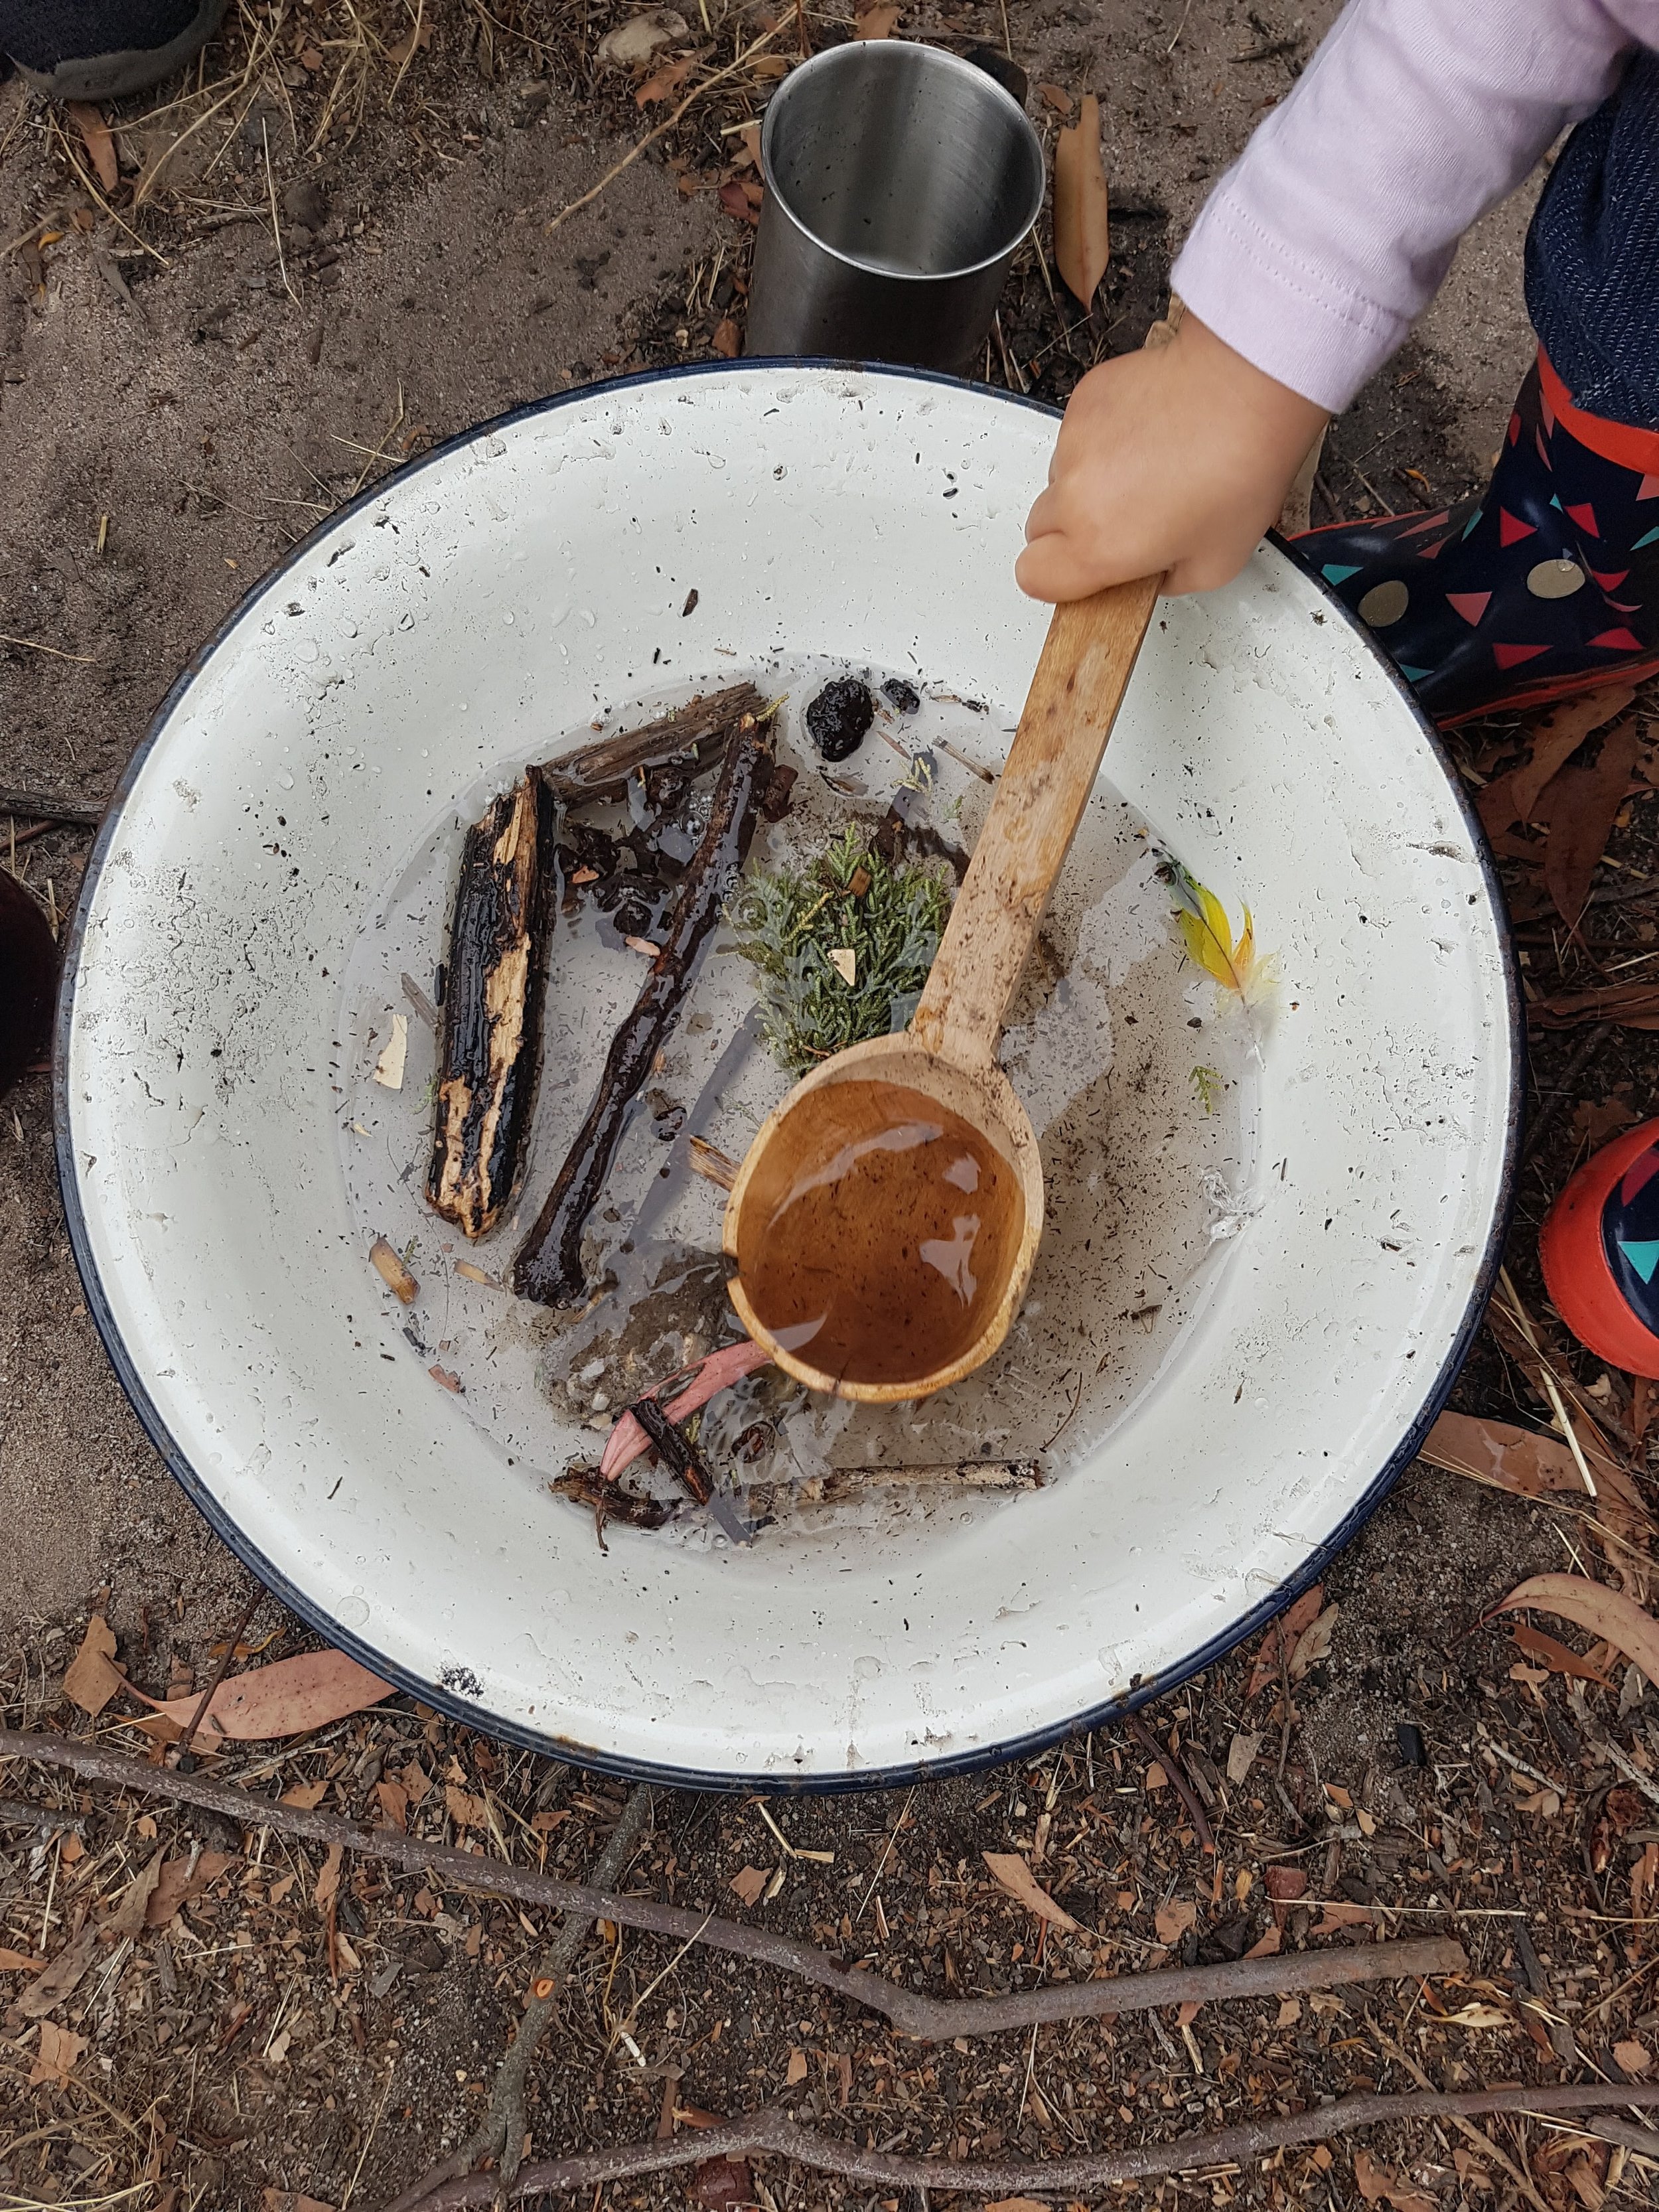
- STEP 3 GATHER SOME INGREDIENTS
Many younger children are content to just pour water into dirt and mix with their hands and feet. If this is their thing, then this is super simple and you need no other ingredients!
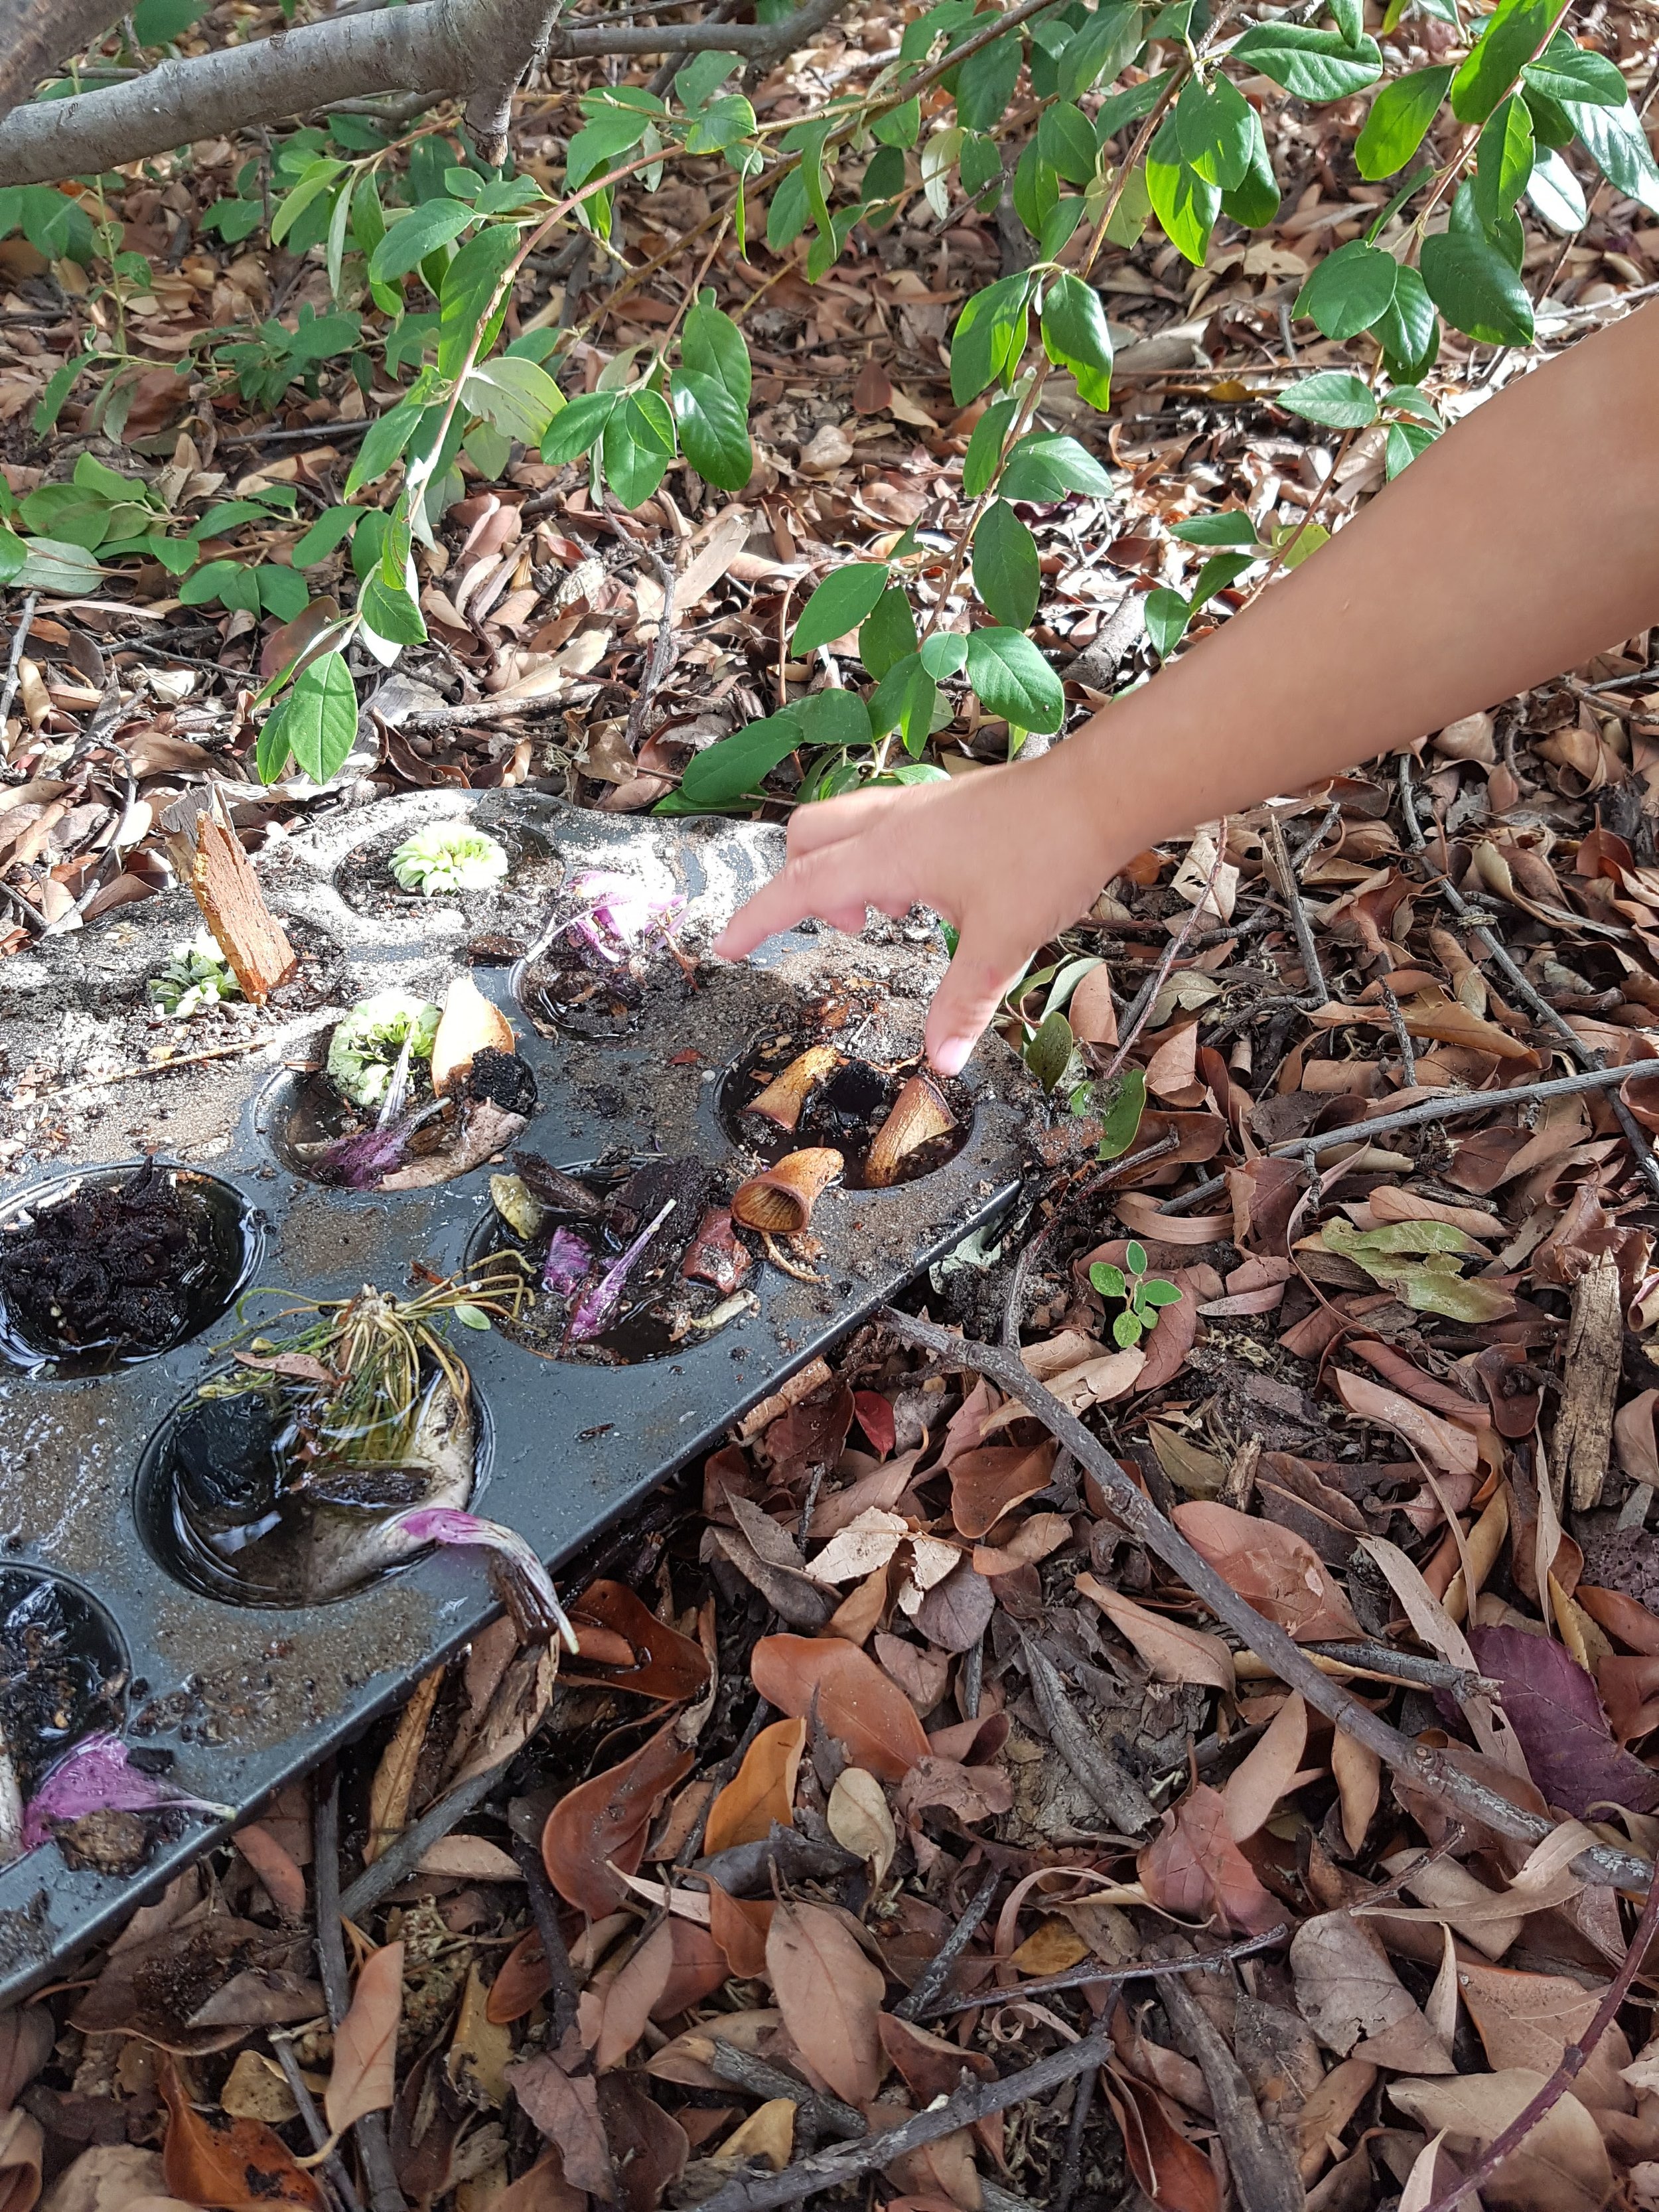
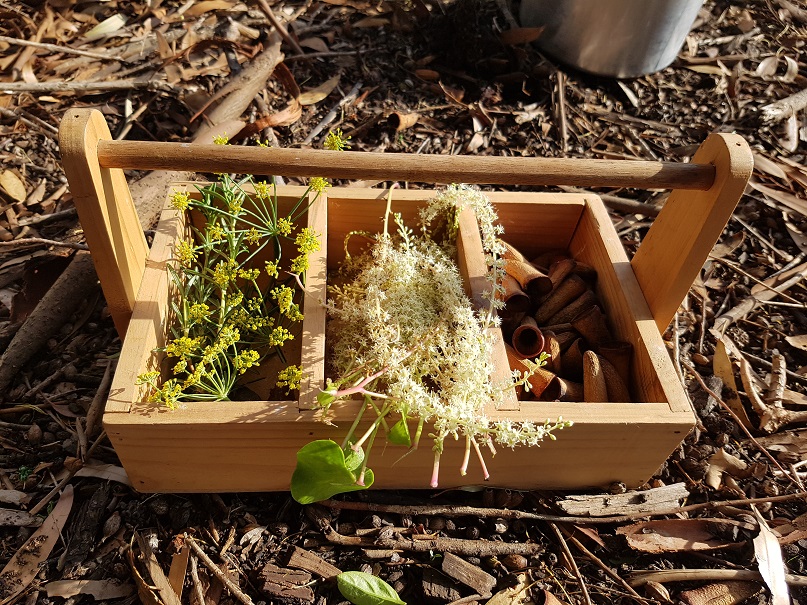
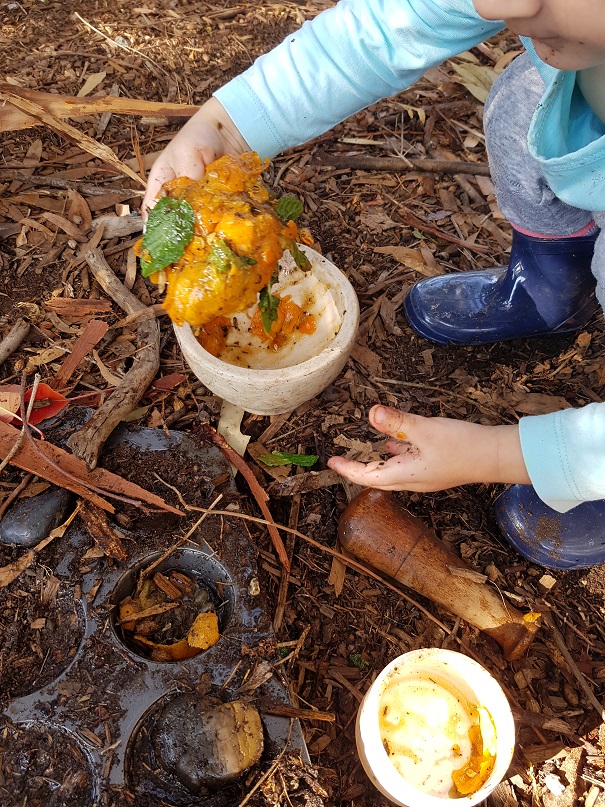
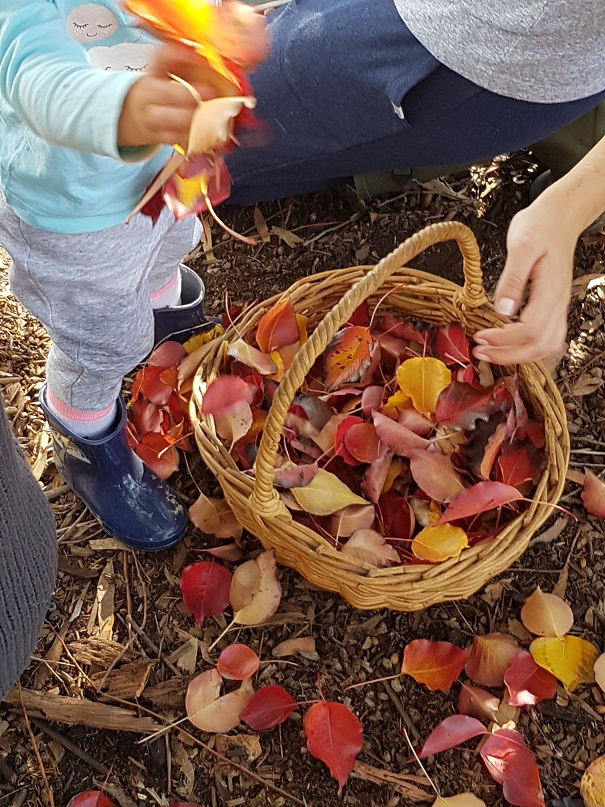
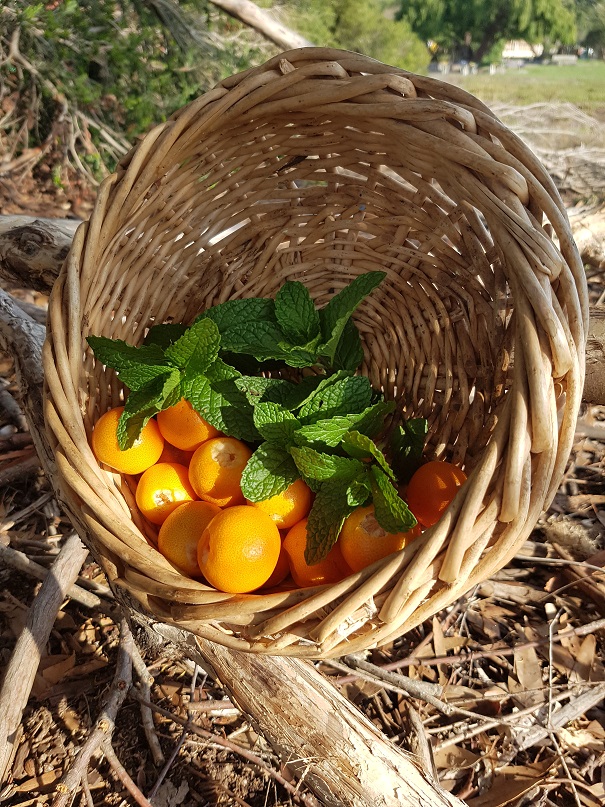
As the kids get a bit older, they might move on from just wanting to mix the dirt and water (or not, but this is just fine too!) and then you can offer them other things to mix into their "soup", "stew", "sushi" or "muffins". There are still a few roses around, and rose petals make a colourful and sweet-smelling addition. I love to use mint, basil, rosemary, lavender and cumquats from my garden. The local deciduous trees are starting to change colour and fall. Red, white, brown, yellow or green leaves look fabulous mixed into a "stew".
If there are no fresh flowers, herbs or plants available, perhaps you have seed pods or pine cones from your garden? Feathers, rocks and sand are always popular in our mud kitchen. You could add dried beans or rice from your own pantry. You could even use vegie scraps from your own dinner to add to the pot.
- STEP 4 PLAY!

As with many of these wonderful, outdoor adventures, there is no right way to have a mud kitchen. Find a space, equipment and plant material that suits your family.
Watch how your child works out how to manage the equipment that you have. It can take quite a lot of concentration and practise to get good at pouring, scooping and twisting. The good thing about learning and experimenting with these skills outside is that all the spills don't matter.
This doesn't have to just be playtime for the kids! Parents and Grandparents can also embrace the dirt and get involved. In my Nature Playgroups we like to do a bit of both. We find space to allow the kids to get absorbed in a task without adult interference, but we also love to get in and play with the kids! It can be quite magic to just observe what your child is doing and to have a moments peace! It can also be such fun to play together.
- STEP 5 CLEAN UP
This is the part I never liked, but once I made it part of the game, I was able to embrace it.
As with any activity, different families will have their own ways! Clean and tidy all the equipment, or leave it all for more fun tomorrow. The kids though, probably need more attention!
A warm bath is a lovely way to end a play session. Follow this with a cuddle, a story, some lunch and hopefully a lovely, long and peaceful sleep!!